
Pita bread will always hold a special place in my heart.

I grew up near one of America’s most iconic falafel restaurants, Falafel’s Drive In! This place hits all the right notes. From big, spicy, falafel sandwiches, to creamy hummus served with crisp veggies, to heavily spiced lamb, to the sweet and sticky traditional baklava, every bite is a fantastic adventure.


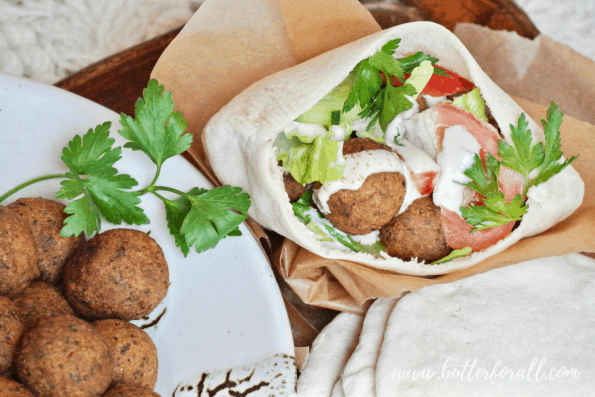
If you are so lucky to be in the area and order a falafel sandwich, you will find spicy and fragrant falafel balls nestled in a crisp lettuce salad with tomato, cucumber, and tahini dressing all bulging out of a soft and chewy pita bread.
Pita bread reminds me of a warm hug, the way it surrounds and snuggles all those marvelous exotic flavors.
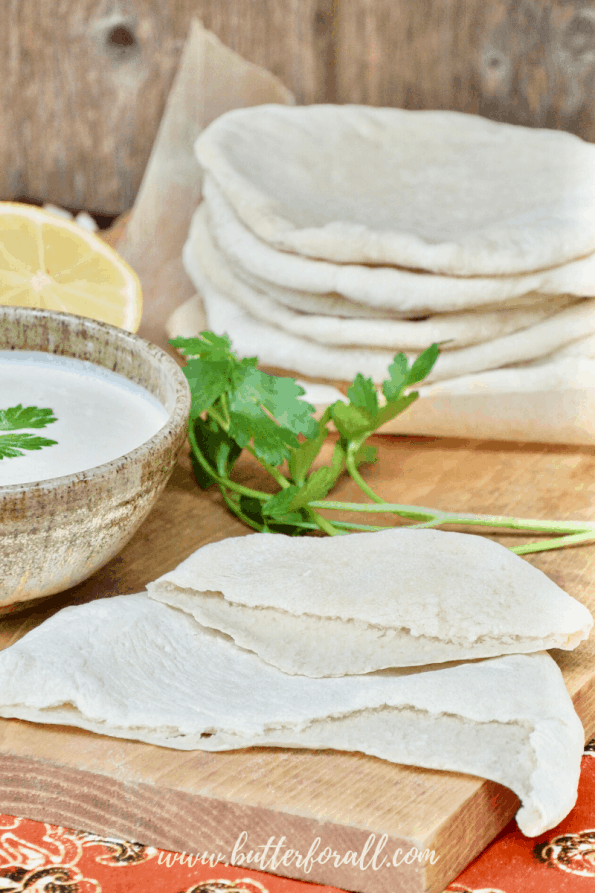

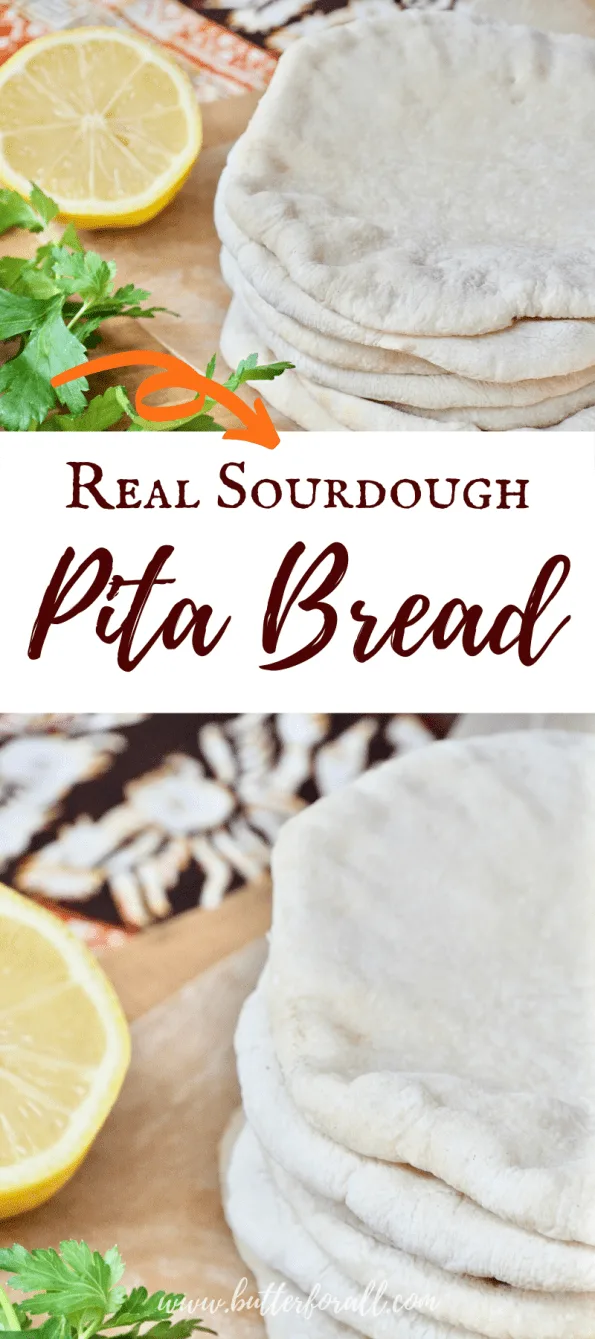
This recipe for real sourdough pita bread is soft and stretchy, making it perfect for filling with your favorites. Try hummus and veggies, sprouted falafel balls, spicy buttery chicken, shawarma, baba ganoush, roasted lamb, or anything else you can dream up!

Cut the pitas in wedges, toss them in ghee and salt, and bake them for the BEST PITA CHIPS EVER!

Watch Me Shape and Cook Sourdough Pita Bread in This Short Demo Video.


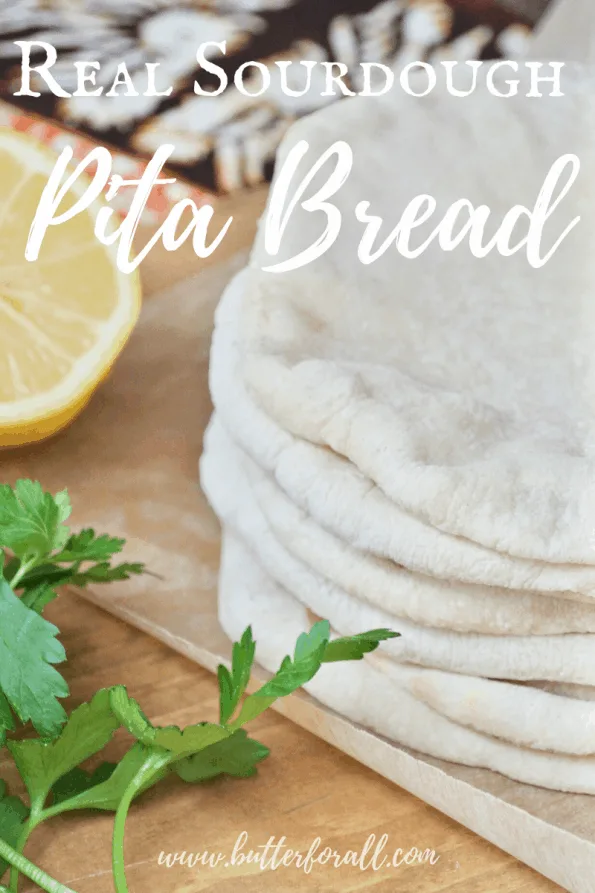
Real Sourdough Pita Bread
This soft and chewy sourdough pita recipe uses the same formula as my sourdough boule but is shaped and cooked differently.
Ingredients
- 475 grams (just shy 4 cups) organic bread flour
- 315 grams (1 1/4 cups) filtered water
- 250 grams (1 cup) active sourdough starter, 100% hydration, stirred down
- 12 grams (1 3/4 teaspoon) salt
Instructions
- Weigh all ingredients into a glass or ceramic bowl.
- Mix the ingredients into a loose shaggy dough with a wooden spoon or dough whisk.
- Wet your hands and gently knead the dough in the bowl by hand until it comes together with no excess flour.
- Let the dough rest covered for 10 to 15 minutes.
- Start the first stretch and fold by wetting your hands and lifting one side of the dough and folding it toward the middle. Repeat this stretch and fold process in all four directions. Sometimes you can get away with an extra one or two folds depending on the elasticity of the dough. If it wants to stretch, stretch it! If it's tearing or breaking it needs a rest!
- Let the dough rest for 10 minutes.
- Start the second stretch and fold by wetting your hands and repeating the same folding motion in (at least) all four directions.
- Let the dough rest for 10 minutes.
- Repeat the stretch and fold and resting process up to five more times for a total of seven stretch and folds (or as many as you are able). I have made great bread by just doing two stretch and folds. But remember, the more stretching and folding, the more gluten will develop, and the higher your bread will rise!
- After the last stretch and fold cover the dough and allow it to ferment overnight or at least 8 hours.
- Preheat your oven to 550°F with your griddle or baking stone inside on the center rack.
- Working with the fermented dough, start the final stretch and fold. This will act as the "punch down" of the dough, deflating the gasses trapped inside the gluten network. Stretch the dough several times toward the center, each time pressing down on the dough to remove air bubbles.
- Turn the dough out onto a floured surface and let it rest for 5 minutes.
- Divide the dough into 16 equal pieces and shape them into little round balls. Let the balls rest for 10 minutes.
- On a generously floured surface, start by rolling one pita into a round about 1/8th inch thick with a rolling pin.
- Using your hand transfer the rolled dough to the preheated baking stone and cook for 2 minutes or until completely puffed.
- While the first pita cooks, roll the second out and so on until all have been rolled and cooked.
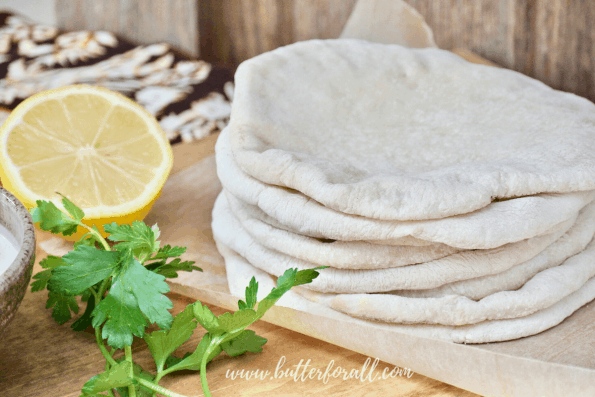
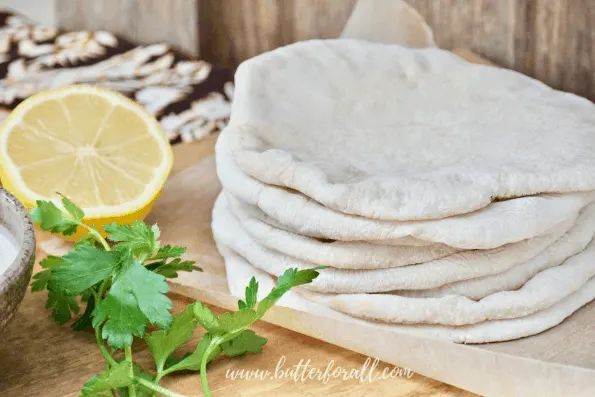
- Stack the pitas on a plate and cover them with a tea towel trapping some of the steam. This will keep the pitas soft and chewy!
- These pitas freeze and defrost beautifully. Just make sure they are completely cooled before freezing.
Nutrition Information:
Yield: 16 Serving Size: 1 gramsAmount Per Serving: Unsaturated Fat: 0g
Want To Learn Everything About Sourdough?
Start with this free guide:

Cristina
Wednesday 18th of October 2023
How long is too long at room temperature? Right now it stays pretty even in my house being fall weather, at about 64-65 F (I’m in WA State).
I messed up my timing with my starter being ready too soon, and dough would stay at room temp a lot longer than 8-10 hours. I’m calculating I can leave at room temp for next 6-7 hours, even 8 hours (if I went to bed at midnight), but I’m not baking middle of the night.
Could I count 6 hours, put in fridge overnight, and finish fermentation in the morning (maybe give it another 4 hours for good measure)?
If I don’t get a reply beforehand that’s probably what I’ll do. TIA!
Butter For All
Sunday 5th of November 2023
Hi Cristina!
I think you did the right thing. Retarding the dough in the fridge is always a good way to manage timing. And you are correct it can take a little extra time to bounce back after being so cold. But with Pita, since you roll it out anyway, you don't need to worry too much about getting it perfect. Just don't let it over ferment to the point of complete gluten breakdown. I hope you loved them!
Courtney
Mazen
Saturday 17th of June 2023
Hi, Where did you buy the steel griddle you used? How thick is it? What is the brand? Best, Mazen
Butter For All
Saturday 1st of July 2023
Hi Mazen,
I like to use the Lodge brand griddle or the Emile Henry baking stone for these pitas. Hope this is helpful!
Michael
Monday 9th of May 2022
[img]https://ptpimg.me/11hq9z.jpg[/img]https://ptpimg.me/11hq9z.jpg This is a great recipe and the pita taste is very complex compared to regular store bought. I had some issues that seemed all operator error. The picture above is of the first pita which puffed classically and is picture-perfect. My issue was that the first four came out close to this and then I started having consistency issues.
Things I noticed: 1. The dough has lots of air which seems like a good thing. 2. Dough is sticky and generally I had to use more flour than you did in the video. 3. My rolling pin is marble and wanted to stick which is maybe why I needed more flour. 4. I tried a pizza dough stretch on a couple and it didn't really work - I tore one and there seems to be no fixing that even if you roll it out then. 5. As you can see in the pic, I used a cloche bottom. Maybe I will try cast iron next time. 6. I tried one with the cloche top on but it didn't rise as good and I needed to flip that one and cook a minute longer. 7. Maybe my over temp was dropping too low from opening and closing the door and I need to wait in-between some set number of minutes like 3-4 minutes for the temp to stabilize.
I know lots of this is just learning how to adapt your recipe to my kitchen. But, if you have any tips, that would be great.
Thanks
Butter For All
Monday 9th of May 2022
Hey Michael!
Your first pita looks really great. Definitely use as much flour as is needed for the pita to roll out evenly. The rolling is what allows them to puff like that. You want to roll them evenly with very firm pressure that pops any existing bubbles in the dough. It is possible that the dough balls didn't rest long enough before rolling and the gluten might have been too tight. But your first came out really nice so that scenario is doubtful. Cast Iron will help retain heat even if the oven door is repeatedly opened. I would say be mindful during the pre-shaping process, making sure the dough balls are tight yet well rested before proceeding. Then roll the pita using plenty of flour to keep them from sticking. Roll and cook each pita one at a time that will give the oven a chance to regain some heat. Hope that helps and please let me know how the next batch goes!
Best,
Courtney
Michael
Monday 9th of May 2022
@Michael, https://ptpimg.me/11hq9z.jpg
Jenna F
Tuesday 9th of November 2021
Do you think I could leave the dough out overnight, shape the balls and then stick them back in the refrigerator to bake during my lunch break? Thanks for such a great recipe ... it will be the first time I try to make pita!!
Butter For All
Monday 22nd of November 2021
Hi Jenna!
Yes! That should work really well. You may want to let them rest at room temp for a few minutes before rolling them. Let me know how it goes!
Courtney
Kelly Darby
Sunday 20th of September 2020
Hello, When you say cook the flattened dough balls on the stone for 2 minutes. Do you flip it at any time or just two minutes and remove it? Thank you for your help. :)
Butter For All
Monday 21st of September 2020
Hi Kelly!
No I don't flip them. You can watch the demo video here!
Happy baking!
Courtney