
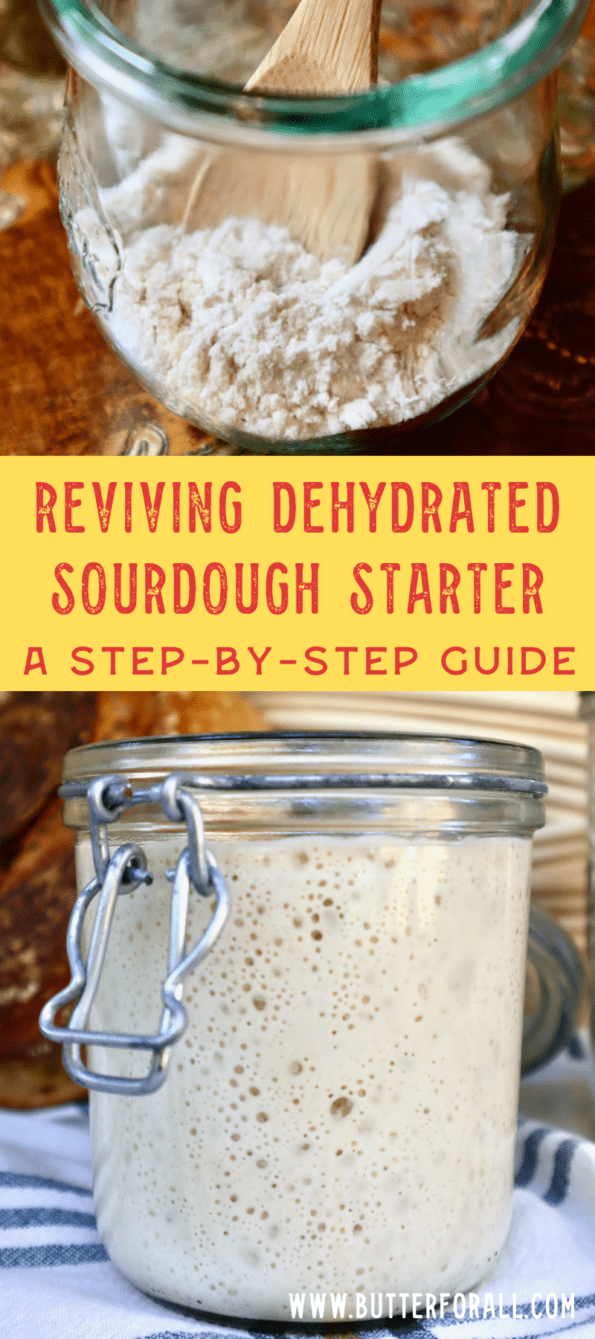
Lucky you!
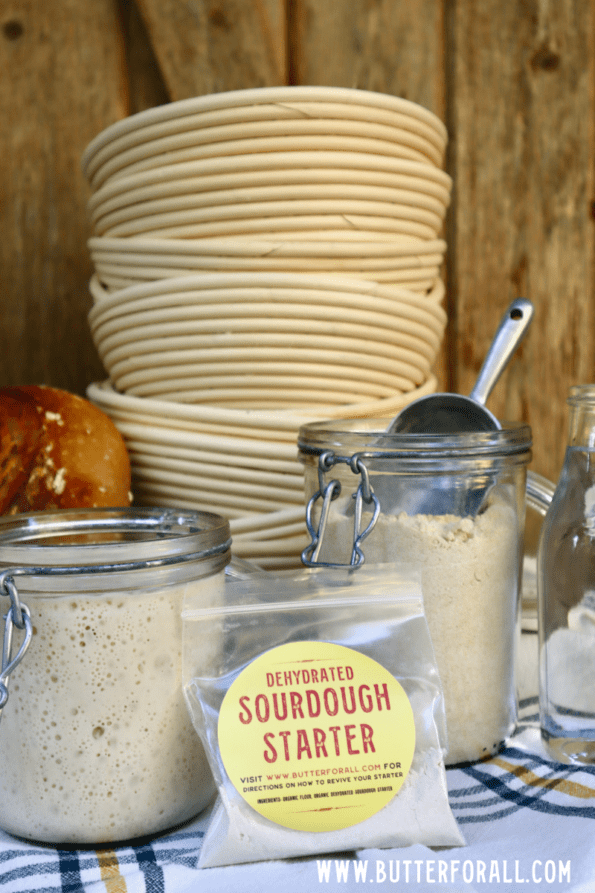
You might have come home from Wise Traditions with one of my dehydrated sourdough starter babies. Or perhaps you are looking for a solid technique to revive some dehydrated starter that you acquired elsewhere.
Either way, congratulations! You are about to embark on the wonderfully fulfilling adventure of homemade sourdough!

Sourdough starter is a perpetual culture of yeast and bacteria. The culture is grown in wheat flour mixed with water and is also known as sourdough starter, mother dough, or levain/leaven. As this mixture ferments, the yeast multiply and produce the carbon dioxide needed to make bread rise.
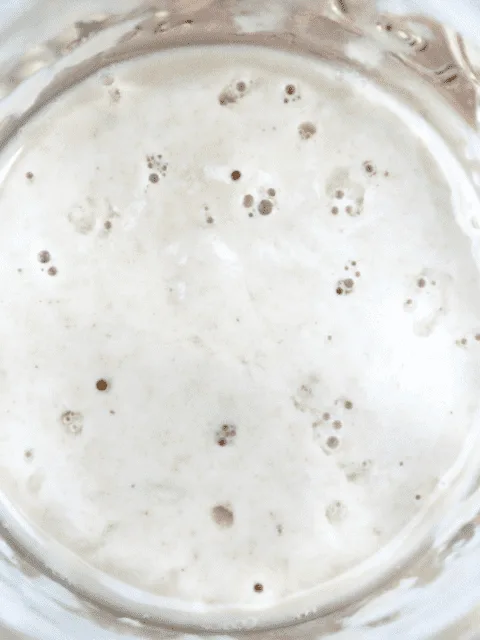
This is what yeast look like when they are multiplying or “budding.”
When the yeast are most active some of the starter is used to make bread or other baked goods.
Keeping with tradition, a little fermented sourdough starter is always reserved to start the next batch of fresh starter or dough.

Getting Started
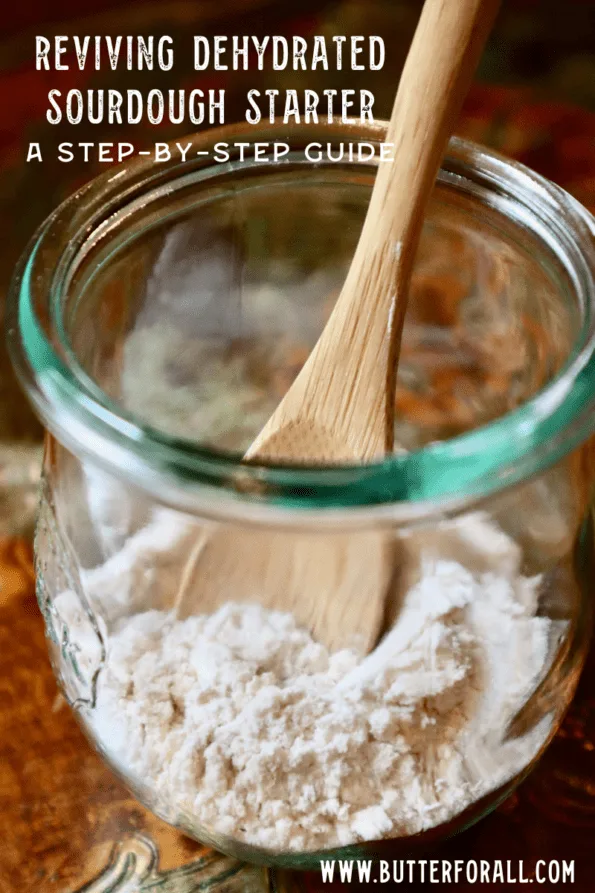
The process to revive your dehydrated starter is quite straightforward. The first step is to rehydrate the starter with clean pure water. The second step is to keep it well-fed with fresh wholesome flour so you can encourage a lively bunch of microorganisms.
If you are just getting started with sourdough and would like to learn more about the science, terminology, and technique start with my free guide, Demystifying Sourdough.
Please note: rehydrating and reviving your new starter can take 4 to 14 days before it is ready to be used. So plan accordingly and be patient. If you can’t start your starter right away, store it in a cool dry place until you are ready, but for the sake of freshness and viability rehydrate it as soon as possible.

The Benefits of Reviving a Dehydrated Starter
- It can be ready in less than half the time it takes to start your own from scratch.
- It has a strain of proven yeast that are strong and have already been used to make great bread.
Ingredients to Revive a Dehydrated Starter
The ingredients you use during this vulnerable stage of a starter’s life really matter. There are yeast spores in your dehydrated starter and just like any baby, they need love and attention.
Warmth and oxygen aren’t ingredients in the traditional sense but they are included here because they are needed for yeast to grow properly.
- Start with clean, pure, filtered water. The water you use should be the very best you can get. (This is a good idea for you too!) Ideally you live in an area with clean water right from your tap, but if your water is treated you will want to use water that is filtered and/or allowed to off-gas any added chemicals. I personally use a Berkey water filter. Not only does it filter really well but the design also allows the water to off-gas during filtering. Berkey water filters even have a fluoride filter that I highly recommend if you have fluoridated water.
- Always feed your baby starter the very best organic whole-grain wheat flour. Yeast thrive on starch but they also need the minerals in the grain’s outer husk to get a good start.
- Always keep your baby starter in a warm spot, ideally between 80 to 90°F. I like to use my oven rack with the light on and the door ajar. All ovens vary so please take the temperature of your oven before proceeding.
- When stirring your starter try to incorporate as much oxygen as possible. This really helps the yeast get going quickly. I like to use silicone spatulas for my starter because they are really easy to clean!
In the following section I’ll expand on how exactly to care for and grow your new starter for the best possible outcome.

Reviving a Dehydrated Sourdough Starter
The following timeline shows the exact steps you should take to give your starter the best chance of success.
Tip: Set reminders on your phone or calendar so you never miss a feeding!
In the beginning it is recommended to sanitize jars and equipment with boiling water prior to use. You don’t want any funky bacteria or mold spores in your new culture!
Over the course of 4 to 14 days you will be building a sourdough starter large enough to use for baking. The starter will have a final hydration percentage of 100% (equal weight flour to water), which is what most recipes call for and is a good ratio for strong fermentation.
During the initial revival of your starter, you will be removing portions called discard. Later, when your starter is fully active, you can save the discard for other baking projects, but during the revival process it is not suitable for consumption and should be thrown away or composted.
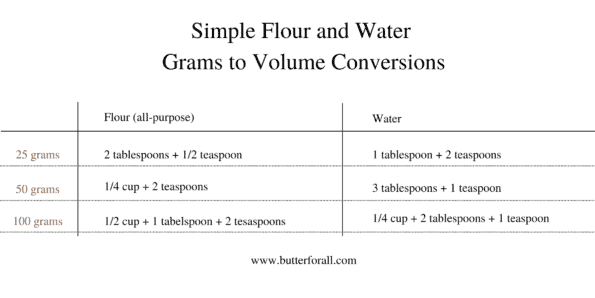
This is a helpful chart if you don’t have a scale and wish to measure your ingredients by volume. Please note that volume measurements are always approximate.

Step 1
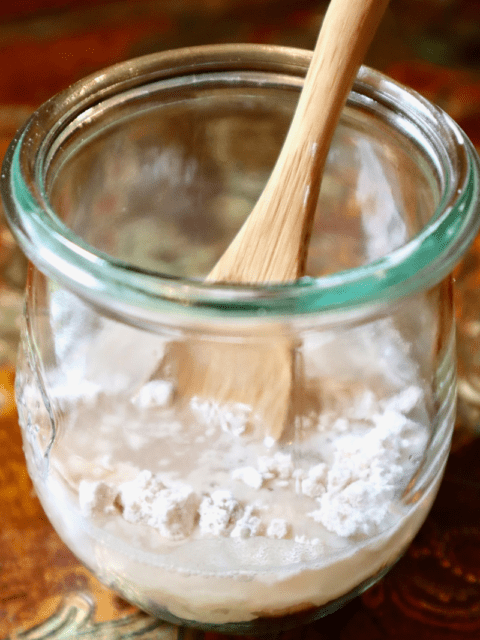
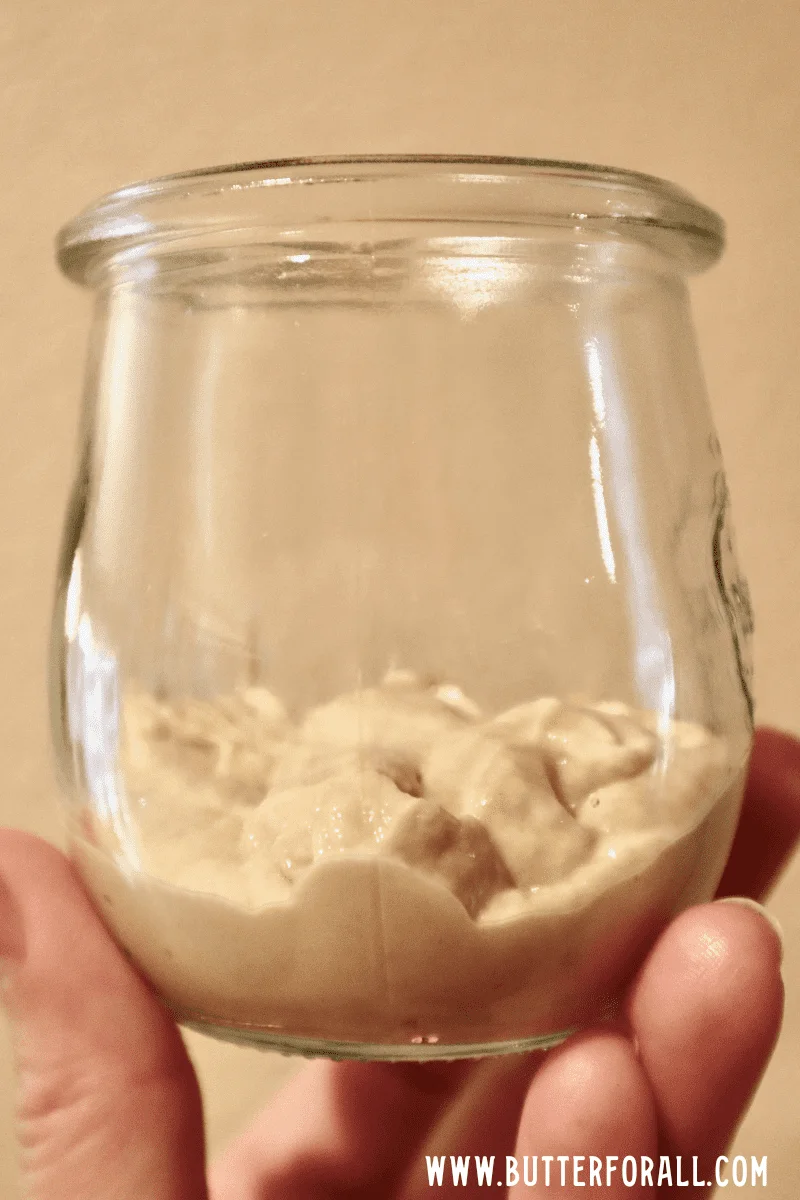
- In a small jar (approximately 1 cup volume) mix your dehydrated starter packet (20 grams organic whole-grain flour + 5 grams dehydrated starter) with 25 grams of pure water. This equals approximately 50 grams of starter.
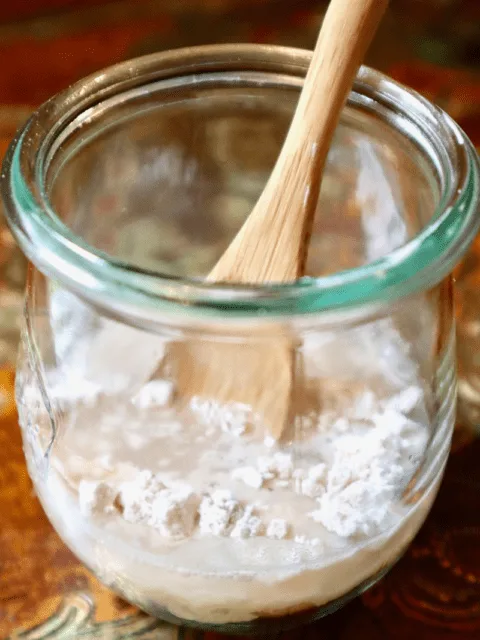
- Stir the mixture well.
- Cover the jar with a loose-fitting lid. The lid should not be airtight but you don’t want any bugs or particulates in the new starter. Do not use a towel. The top of the starter is apt to dry out if there is too much airflow.
- Place the starter in a warm (80°F) spot for 12 hours.
- At the 12-hour mark you may see a dark surface on your starter; this is normal. Stir the starter well and place it back in the warm spot for another 12 hours.
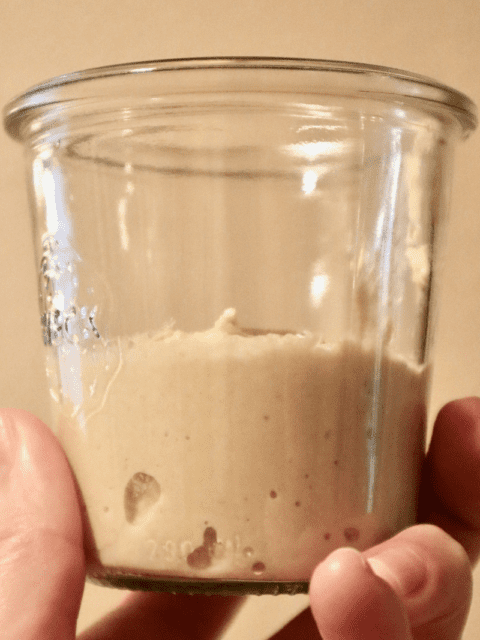
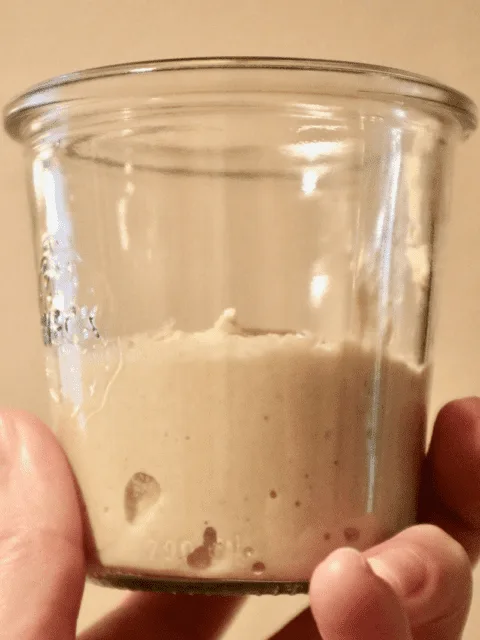
Step 2

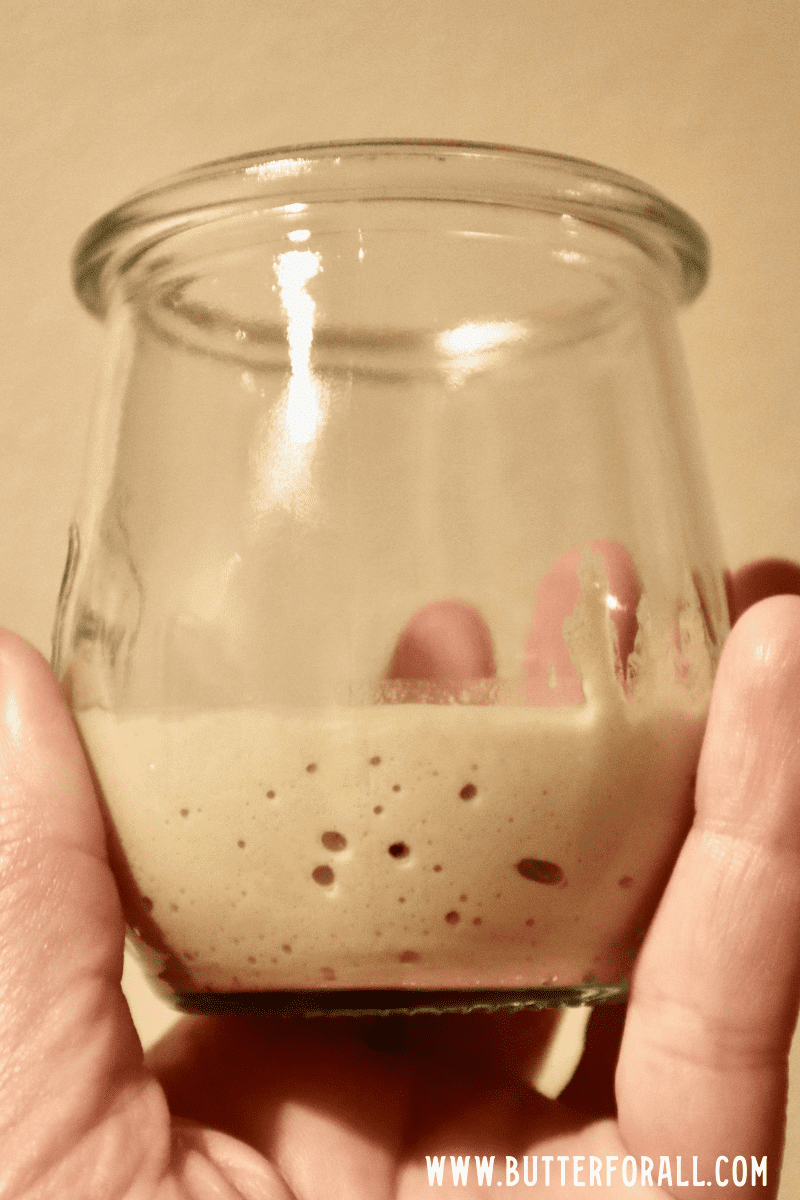
- Remove the lid from your starter and observe the surface and sides of the jar. There may be dark flour or liquid on the surface of the starter, there may be a slight sour smell, and you may see small bubbles throughout the starter. These are all normal and healthy signs at this stage.
- Stir the starter and measure 25 grams into a clean jar. Discard the leftover 25 grams of fermented starter.
- Feed the starter with a 1:1:1 ratio. One part starter (25 grams), one part flour (25 grams), and one part water (25 grams). Your starter now weighs 75 grams.
- Place the starter back in the warm spot and let it ferment for 36 hours. Most people only give the starter 24 hours at this stage but I’ve found that the extra 12 hours really give the yeast a chance to establish.
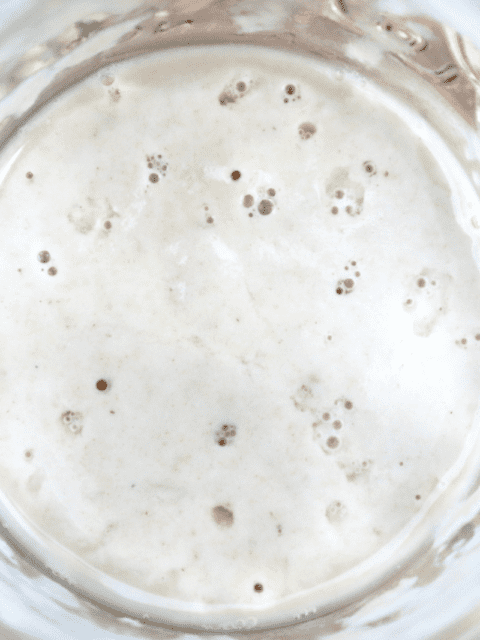
- You may notice bubbles forming; this is the yeast and bacteria starting to produce carbon dioxide.


Step 3

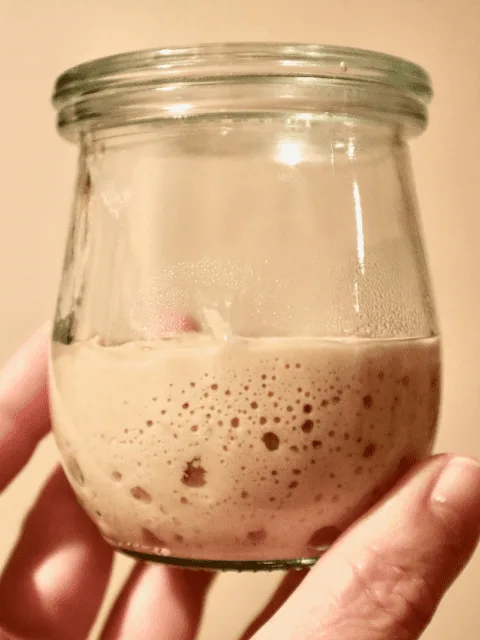
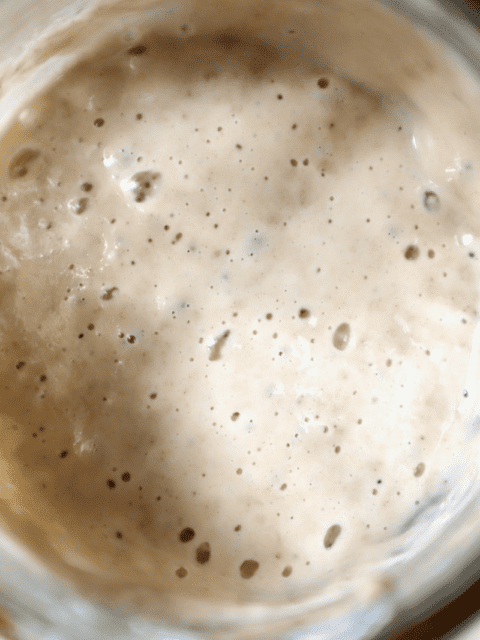
- Remove the lid from your starter jar and observe the top and sides. Hopefully you see lots of little bubbles throughout your starter. If not, repeat Step 2 (reducing the fermentation time to 24 hours), as many times as necessary until you do.
- Prepare a slightly larger jar (approximately 2 cups volume).
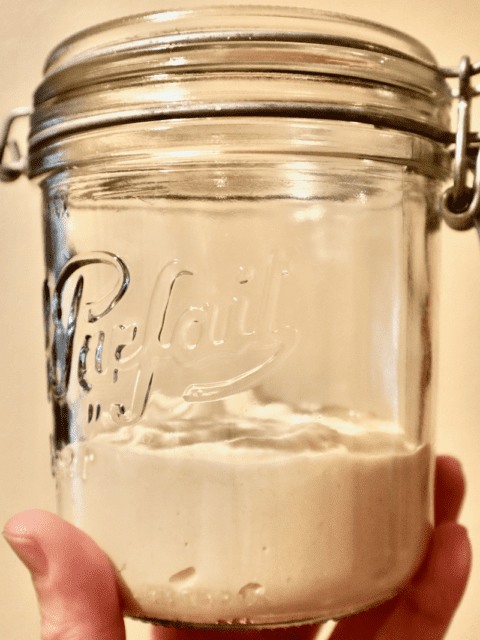
- Stir the starter and measure 25 grams into the clean jar. Discard the leftover 50 grams of fermented starter.
- Increase the feeding to a 1:2:2 ratio. One part fermented starter (25 grams), two parts flour (50 grams), and two parts water (50 grams). Your starter now equals 125 grams.
- Place the starter in a warm spot to ferment for 12 hours.
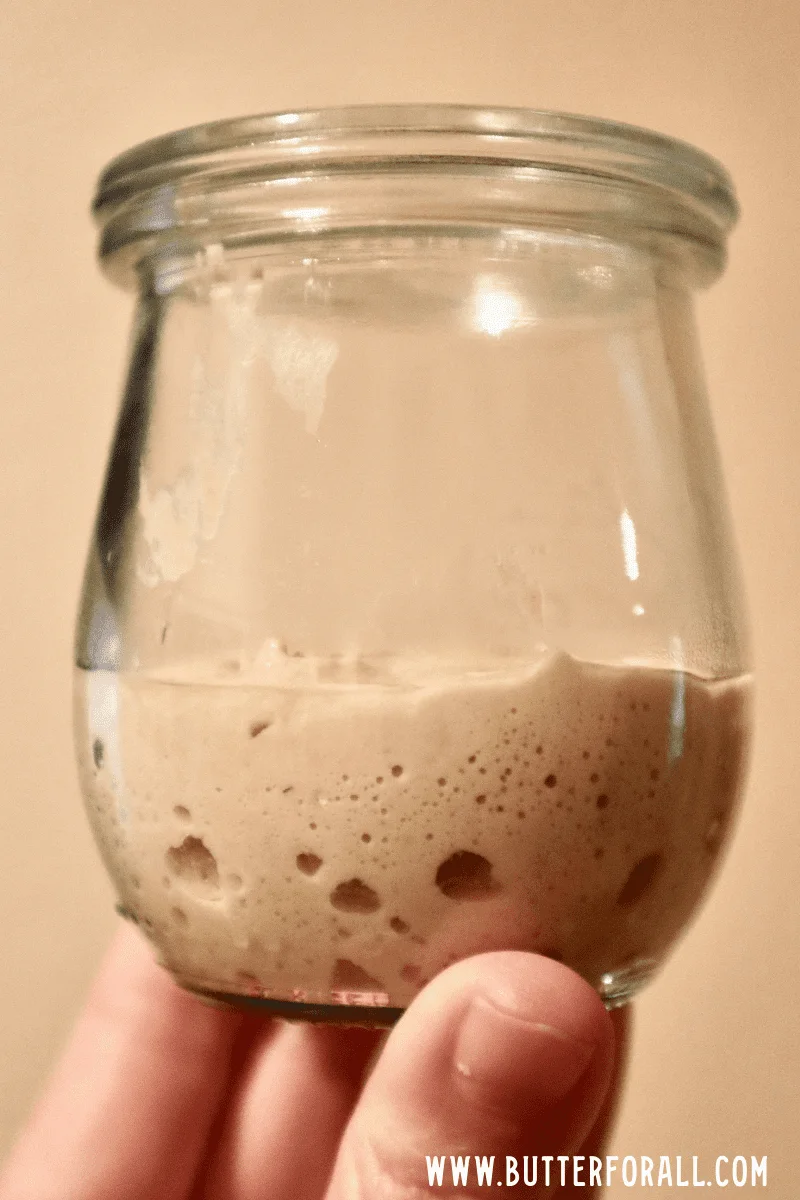
Step 4

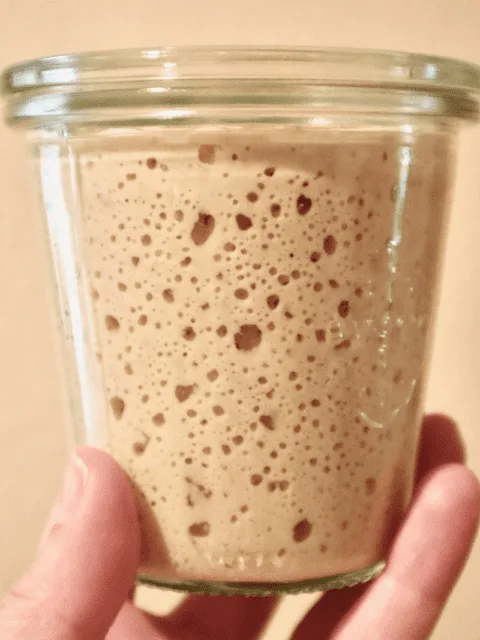
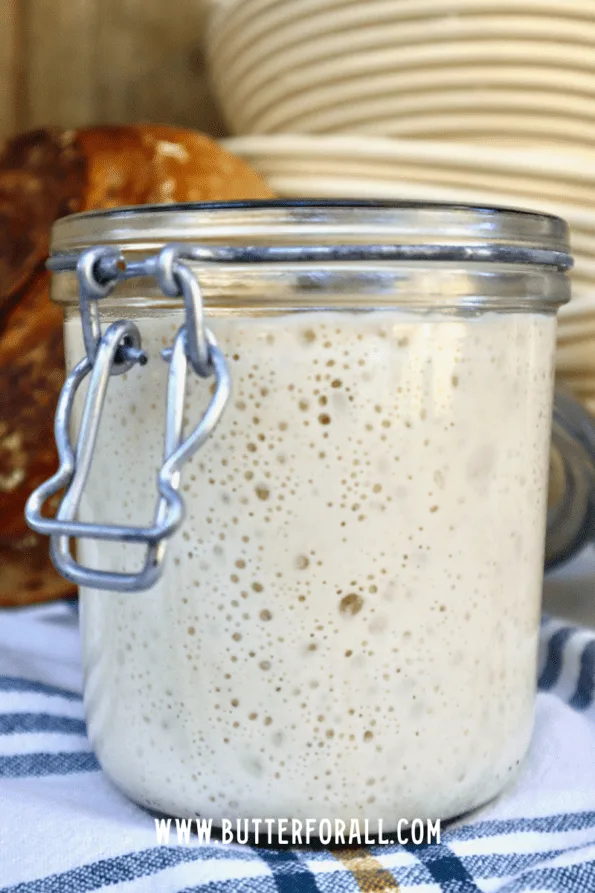
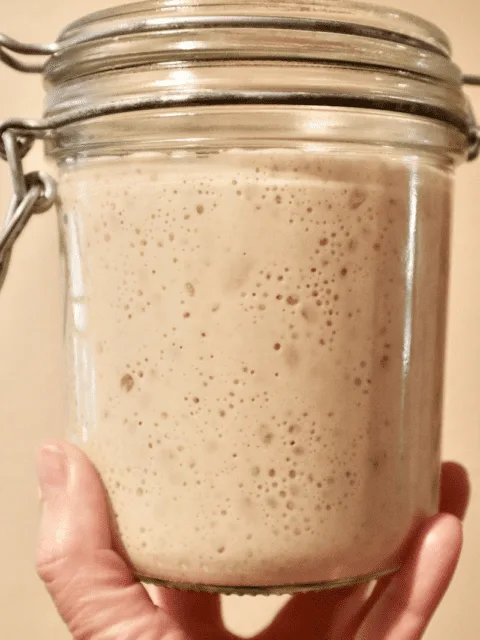
- Remove the lid from your jar and observe the top and sides of the starter. It should be fermenting nicely at this point. It may smell sour, have lots of bubbles throughout, and be rising up the sides of the jar. In my experience the starter had doubled in volume in the jar overnight! If your starter did not double in volume, repeat Step 3 as many times as necessary until it does.
- Once the starter is thriving you can begin keeping and using the discard (the portion you remove prior to feeding) in recipes like pancakes and crackers. Save the discard in a jar in the refrigerator until you have enough for a recipe.
- Prepare a larger jar (approximately 4 cups volume).
- Increase your starter’s size in preparation for a recipe. Feed using the 1:2:2 ratio with 40 grams fermented starter, 80 grams flour, and 80 grams water (scale as needed). Now your starter equals 200 grams, plenty for use in a recipe with enough remaining to inoculate your next batch of flour and water.
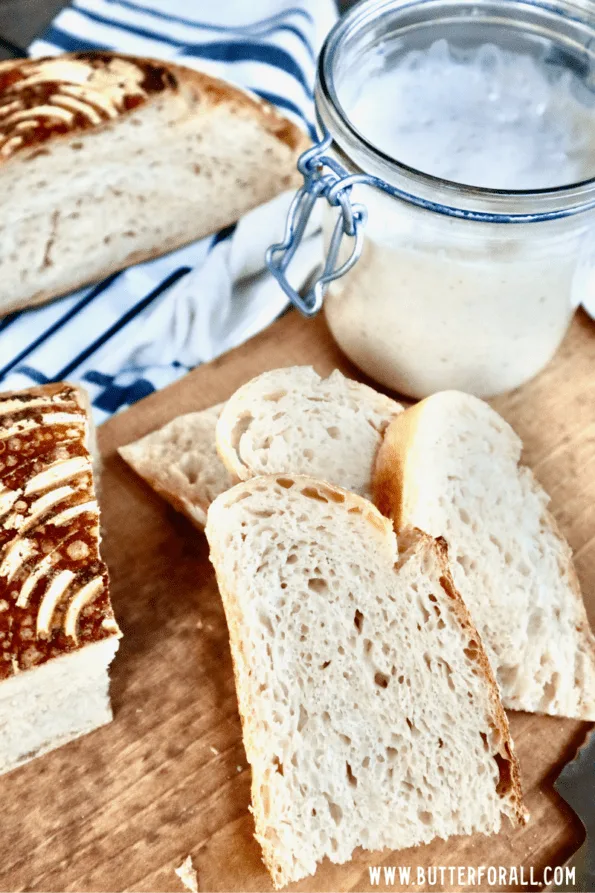
- Let your starter ferment in a warm spot until it has doubled in volume. If this process takes less than 8 hours, you can feel confident to go ahead and test your starter on a simple loaf of bread. My Sourdough Master Recipe is a great place to start for beginners. If it takes more than 8 hours for your starter to double just continue the discard and feeding schedule of Step 4 until the starter doubles in under 8 hours.

Step 5 and Beyond

- Once your starter is doubling in 8 hours or less, you may use a portion of your fermented starter in any sourdough recipe.
- Feed your starter up again to the desired size and let it ferment at cool room temperature. This will help to get your yeast used to working at lower temperatures.
- Once you’ve used, fed, and fermented your starter a few times at room temperature you may opt to keep it in hibernation in the refrigerator. Always make sure it is well-fed before cold storage.
The Journey Continues
I’m sure you’ll have questions along the way. It can be a confusing process. I’ve written a lot of guides like the one below and also offer one-on-one video consultation.
Learn how to care for and store an established starter in this post: How To Feed, Care for, and Maintain Your Sourdough Starter

That’s it! You now have a thriving sourdough starter that will serve you well for years to come.
Leave me a message below in the comments and let me know how your starter is doing!
Ruchi Aggarwal
Wednesday 19th of February 2025
Thank you for the detailed tips to dehydrate starter. I think I’m getting there. I am at step 5 now and I am going to make a sough bread for the first time ever. As mentioned the remaining starter I will leave outside at room temperature, but I need to feed it. Does the proportion of water and flour depend on the weight of the leftover starter in the glass jar? Do I need to follow 1:2:2? thank you first timer here and don’t want to kill my starter.
Butter For All
Friday 21st of March 2025
Hi Rucchi,
I apologize for the slow response on this question. I'm wondering how things are going for you now? Anytime you take starter out of your jar you'll want to replace it with fresh flour and water mixture. You don't need to follow any ratio exactly. You can feed your starter up to 10 times the weight of the remaining starter. So it really depends on how much starter you want to have on hand. Sometimes a larger feeding will take a little bit longer to ferment but that's the only consideration. Also Starter starters are very hard to kill once they are well balanced so just keep feeding it regularly make sure that the acid bacteria and yeast are in a good balance, and you should be all set!
Sarah Jane
Monday 27th of February 2023
Would I be able to use Einkorn flour to begin my starter?
Butter For All
Monday 27th of February 2023
Hi Sarah!
Definitely. Einkorn will be lovely. It wont behave that same way more modern wheats will. It's more sticky and slack, it ferments faster, and it's harder to handle. But if you are ok with learning as you go, then I'd say go for it. The Jovial AP einkorn might be the closest you can get to modern wheat varieties with the nice low gluten and full robust flavor of einkorn.
I would love to hear how it goes!
Courtney
Jerri
Thursday 17th of November 2022
Thank you so much for your patience. Just made some discard pancakes 🥞, great recipe, next crackers, I like crackers (we haven't tried paté yet but...😃. We like cheese and getting ready to make some cheese and whey then make some gjetost cheese out of the extra whey this time. Cream set aside to churn butter at we are out I substituted coconut oil for ½ the butter in the pancakes recipe (didn't realize we were out until then) they were still very good! Thank you again.
Jerri
Thursday 17th of November 2022
In step 4 you said we could keep the starter/discard if starter is thriving? I didn't know how to 'keep it until I have enough to make crackers or pancakes' I fed it and stuck it in the oven with the other (is that what you meant?) It seems it was easier to start it than to keep it. It's scary to be new... 😑
John Butler
Thursday 2nd of November 2023
@Butter For All,
"Just put the discard in a jar and keep it in the fridge ..." Do I feed it before going into the fridge while accumulating more starter during the week? And feed each portion as it goes into the jar with existing discard?
Thank you!
Butter For All
Thursday 17th of November 2022
You are doing great!!! You'll get more comfortable as you gain experience. Yes, You can start to keep discard once the starter is bubbly and active. Just put the discard in a jar and keep it in the fridge until you have enough built up for a recipe. There is nothing wrong with what you did, but you would end up with so many starters if you did that every time.
Jerri
Monday 14th of November 2022
Pardon me I mean it cause for 2 tsp active dry yeast Some say 2.83g=1tsp and the packs say active dry yeast 7g=2tsp do it's hard to measure from US standard weight to metric correctly. I wondered if you have a formula that would help this confusion. 🙂