I may receive commission if you purchase through links in this post.
Over the last few years I’ve made it my mission to learn how to make the softest, fluffiest, chewiest, naturally leavened bread with my sourdough starter.
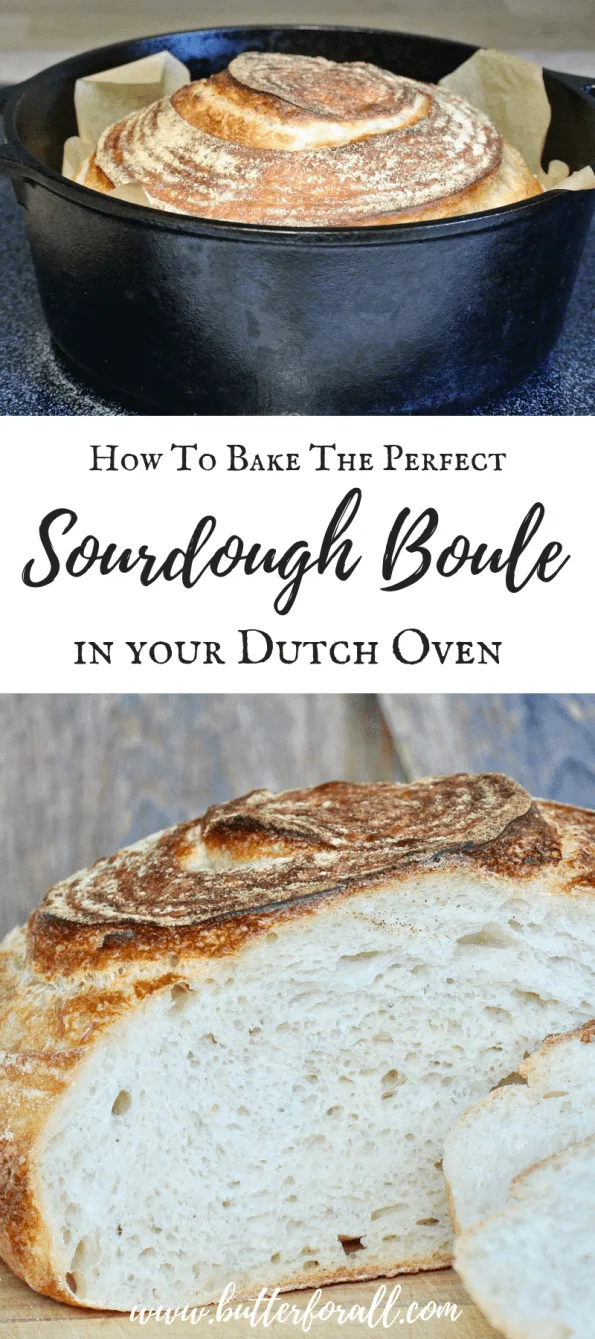
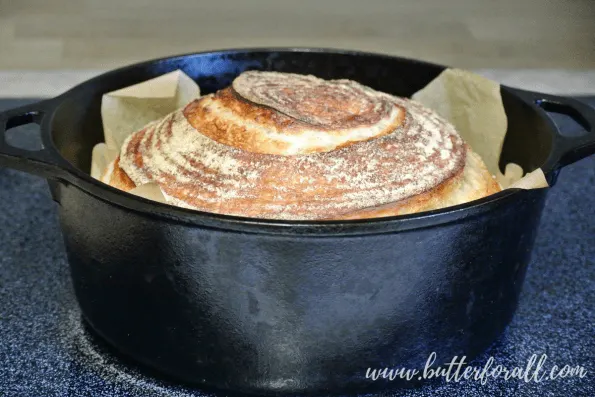
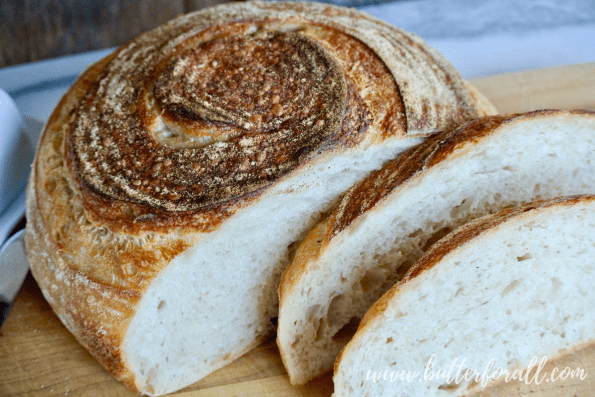
This easy sourdough boule is the result of much practice and formula testing. I wanted to keep the recipe very simple and straightforward so that even an amateur sourdough baker could reproduce this bread with beautiful results! If you follow my recipe and learn the technique from watching my video you will definitely be able to master baking an artisan sourdough boule at home in your Dutch oven.
Are You Interested in the Science of Sourdough?
I’ve written a comprehensive guide to sourdough. It answers questions about what sourdough is, why it’s better for your body, how to talk about sourdough and understand common terminology, and how to save yourself years of trial and error.
Once you’ve mastered the sourdough basics you will be ready to bake an incredible loaf of bread like this one.
This Recipe Uses the Stretch and Fold Method of Kneading.
What I love about stretch and fold:
It’s easy.
It can be done over a period of time and at your own pace.
It develops an insane amount of gluten, making your bread reach for the clouds with the absolute BEST oven spring.
It’s flexible. (Only have time for two stretch and folds? No problem, you will still have an awesome bake!)
It can be done in the bowl, keeping your workspace clean.
You don’t need a stand mixer — stretch and fold is a “by hand” method, uniting you to your food!
This video will walk you through the steps of the recipe and stretch and fold method.
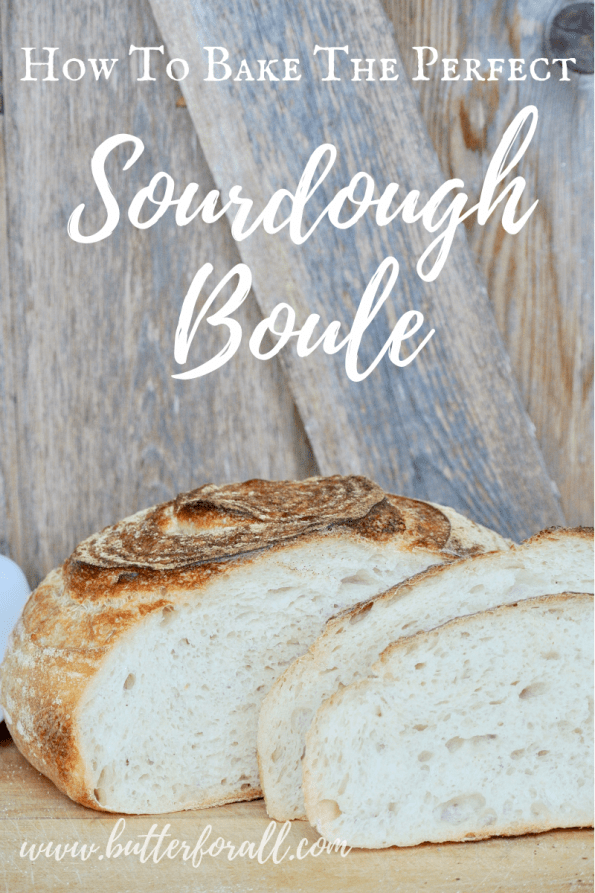
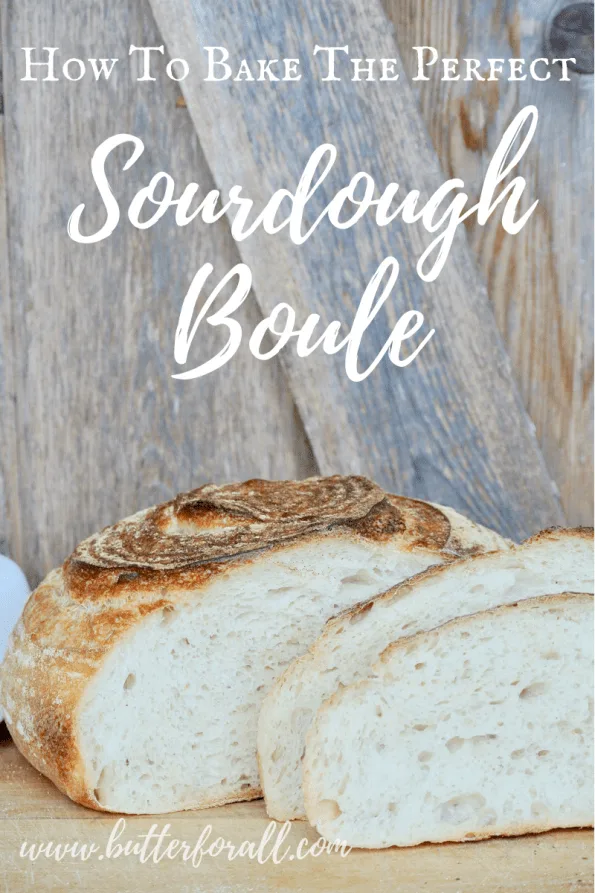
How To Bake the Perfect Sourdough Boule in Your Dutch Oven
Yield: 12
Prep Time: 1 day
Cook Time: 40 minutes
Total Time: 1 day40 minutes
Learn how to bake a big and beautiful loaf of real sourdough bread. This formula yields a soft and pillowy crumb perfect for slathering with real butter!
Mix the ingredients into a loose shaggy dough with a wooden spoon or dough whisk.
Wet your hands and gently knead the dough in the bowl by hand until it comes together with no excess flour.
Let the dough rest covered for 10 to 15 minutes.
Start the first stretch and fold by wetting your hands and lifting one side of the dough and folding it toward the middle. Repeat this stretch and fold process in all four directions.
Sometimes you can get away with an extra one or two folds depending on the elasticity of the dough. If it wants to stretch, stretch it! If it's tearing or breaking, it needs a rest.
Let the dough rest for 10 minutes.
Start the second stretch and fold by wetting your hands and repeating the same folding motion in (at least) all four directions.
Let the dough rest for 10 minutes.
Repeat the stretch and fold and resting process up to five more times for a total of seven stretch and folds (or as many as you are able). I have made great bread by just doing two stretch and folds. But remember, the more stretching and folding, the more gluten will develop, and the higher your bread will rise!
After the last stretch and fold cover the dough and allow it to double in size. This can take anywhere from 3 to 6 hours depending on starter strength and ambient temperature.
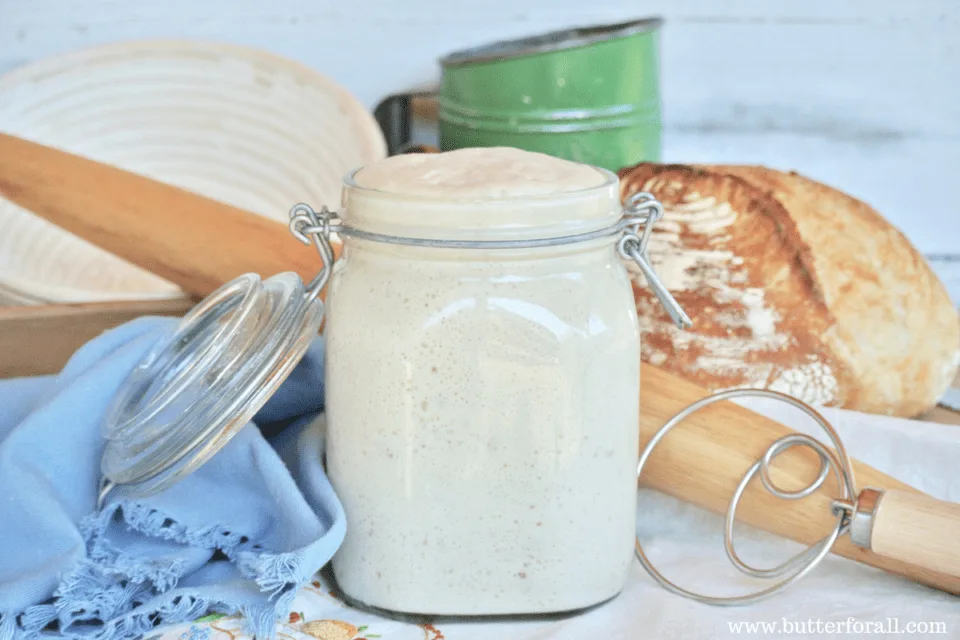
Prepare your banneton (proofing basket) with a coating of flour. My trick is to use sprouted wheat flour. Sprouted wheat does not develop gluten so it will keep the bread from sticking to the basket. Rice flour, buckwheat, or other non-glutinous flour can also be used.
Working with the doubled dough, start the final stretch and fold. This will act as the "punch down" of the dough, deflating the gasses trapped inside the gluten network. Stretch the dough several times toward the center, each time pressing down on the dough to remove air bubbles.
Let the dough rest for 10 minutes.
Lightly wet your hands and remove the dough from the proofing bowl onto your work surface. Shape the dough by repeating the same folding toward the center action. Once a tight ball is achieved flip it seam side down and push it gently in all directions across the work surface to build tension in the outer layer (see attached video).
Let the dough rest seam side down for 5 minutes.
Transfer the dough to the banneton basket. This time you want the seam to be up and the tight surface to be down in the basket.
Sprinkle the seam side of the shaped dough with a light dusting of flour and cover it securely with wrap and a rubber band.
Place the banneton basket in the refrigerator overnight for at least 10 hours. 12 to 24 hours is my preferred proofing time.
Once the dough has crested the edge of the banneton it is ready to bake, but you may keep it in the refrigerator for a longer period of time.
Preheat your oven to 450°F with your covered Dutch oven inside.
Cut a piece of parchment paper big enough to overhang your loaf's circumference by a few inches.
Remove the banneton from the refrigerator, remove the wrap from the dough, and place the parchment sheet over the exposed dough. Hold the parchment in place with your hand while you flip the dough onto the counter. Now the parchment is on the bottom.
Carefully ease the banneton off the dough. Sometimes it takes a little coaxing. Use your fingers to gently work between the dough and basket. Hopefully the basket will lift away clean!
Using a sharp razor blade, score the dough along the top. There are so many scoring patterns to practice with, but a good one to start with is a simple slash or a cross. Score the dough about 1/2 inch deep.
Using baking gloves, remove the Dutch oven from the oven and remove the lid.
Working quickly, pick up the boule by the parchment paper edges and place it into the Dutch oven on top of the parchment.
If desired, add a few ice cubes to the Dutch oven between the parchment and the wall of the Dutch oven, or spray the boule with a few spritzes of filtered water. Adding additional moisture will keep the crust soft, allowing for more rise and giving a nice blistered texture and appearance.
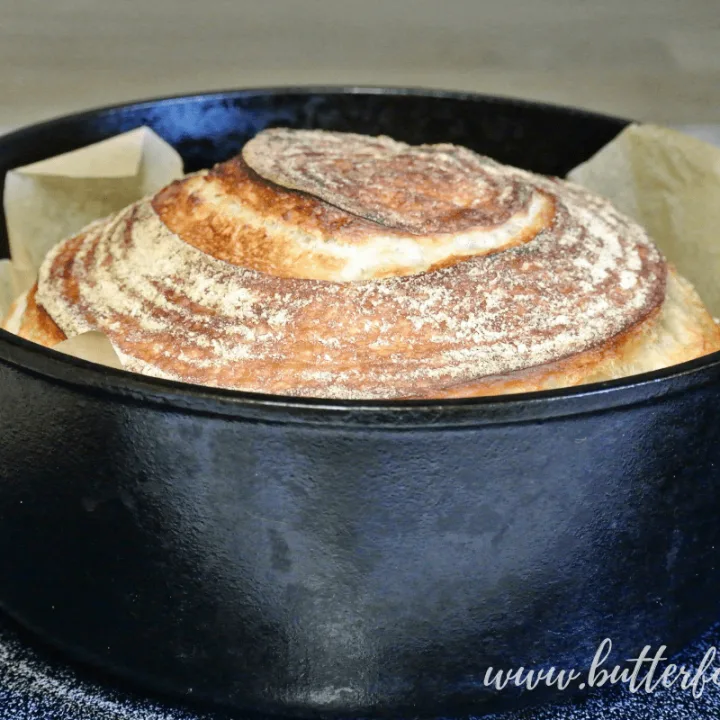
Cover the Dutch oven and place it back in your preheated oven. Bake undisturbed for 25 minutes.
Open your oven and remove the Dutch oven lid. Bake for an additional 15 minutes.
Remove your Dutch oven from the oven and gently lift the boule out using the parchment paper as handles. Remove the parchment paper and cool the boule on a wire rack. Cool the boule completely before cutting (possibly the hardest part of baking this incredible loaf of bread!).
Notes
Beginners: Start with 275 grams water, about 1 1/5 cups.
Also note that all cups and spoons measurements are approximate, for best results please weigh your ingredients!
Recommended Products
As an Amazon Associate and member of other affiliate programs, I earn from qualifying purchases.
Yield: 12Serving Size: 1 grams Amount Per Serving:Unsaturated Fat: 0g
This recipe yields a boule that has a hydration percentage of 73.3%
Higher hydration doughs will have a more open crumb (bigger holes). Want to play around with hydration? Use this website to calculate the hydration percentage of your dough: Bread Hydration and Conversion Calculator.
Because You Are Awesome and Read All the Way to the Bottom of This Post You Get My “Pro Tips” for This Recipe!
Pro Tip #1You can use up to 60% whole wheat or other heirloom or ancient grain in this recipe. Be aware that you may want to add additional water because whole grains absorb more water in the dough. Start with 10 additional grams of water per 50 grams of whole grain flour used.
Pro Tip #2If you are baking in an electric or gas oven with a bottom heating element, always use a baking stone, pizza stone, cast-iron griddle, or cast-iron frying pan on the rack below your Dutch oven! Position the Dutch oven directly above the barrier pan or stone — this will help keep the bottom crust from getting too dark!
Is there any adjustments I should try making for a more golden crust? I’ve used this recipe for a few years now and can’t seem to get a deep golden crust like others.
Butter For All
Wednesday 19th of November 2025
Hi Cedric,
You might just try leaving the lid off the Dutch oven for an extra 5 to 10 minutes. If you've already tried that and it's still not getting a deep golden color then I would say your bread might need a little more fermentation time. Let me know how it goes!
Roderick Edwards
Saturday 19th of July 2025
I have used this recipe several times now with mixed results. I believe that I am following the very detailed guidelines exactly but seem to arrive at the stage following stretch and fold with a dough that is looser/stickier that that in the video. After several hours of proofing after doubling in size it is almost impossible to fold and form it into a ball with a nice stretched skin . In my last effort I had to scrape the sticky dough out of the banneton. My last attempt resulted in a loaf that looks like a deflated foot ball. Any advice would be appreciated. My one success was quite tasty and I would like to continue with this recioe
Butter For All
Sunday 7th of September 2025
Hi Roderick,
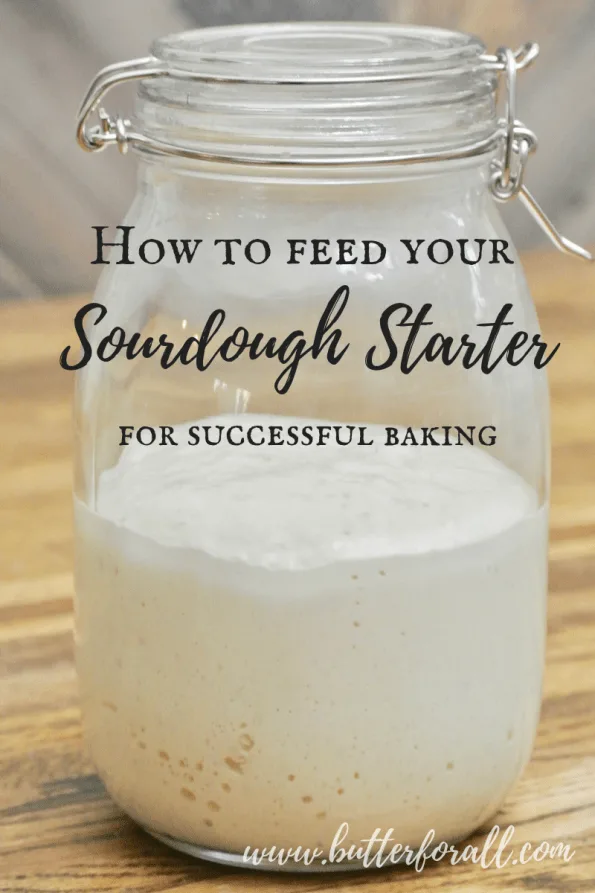
This sounds like it could be an issue with inconsistent feeding of your starter. If your starter is extremely hungry and unbalanced it could potentially break down the gluten structure in the dough during fermentation. The reason I think this may be the case is because of the deflation issue during and after baking. That sounds like an unbalanced starter at work. I would first try feeding your starter consistently up to mixing the dough and always keeping it well fed in general. If you don't believe that to be the problem, then it may just be a hydration issue with the particular flour that you're using. I would suggest adding flour 25 G at a time until you get a dough that you feel is easy to handle.
I hope these tips help, let us know how it goes!
Allyson
Friday 7th of February 2025
This is a wonderful recipe! Soft texture and great rise. Going to keep this one in my files! Thanks!
Patricia M
Saturday 31st of August 2024
I watched the video and followed the directions to a T. I am not new to sour dough or baking. I have a strong starter and everything I make comes out great… except boules! You recipe was easy to follow and everything went exactly to plan until I inverted the cough onto the parchment! 😕. It spread out - to what I think was to much. I scored it and popped into the preheated DO. I did add some ice cubes and put a baking stone on the lower rack. I also have a trivit that fits inside my DO. Baking it now. Hopefully it rises up. 🤞🏻
Butter For All
Friday 6th of September 2024
Hi Patricia!
I'm really excited to hear what happened with this loaf! I hope you'll come back and leave me a note :)
Sharleen
Thursday 28th of March 2024
I’ve been making your Sourdough Boule recipe for a few years and love it! I was wondering if there is a way to make it more sour?
Dave
Thursday 5th of December 2024
@Butter For All, You can also use "Sour Salt" as well. King Arthur has an article on how to use this ingredient to increase its tanginess.
Butter For All
Tuesday 2nd of April 2024
Hi Sharlene!
I'm so happy to hear it! You can try working with a very mature sourdough starter that has more acid buildup. I would recommend splitting your sourdough starter and letting 1/2 ferment until it's very sour. Then use that in place of the active sourdough starter and see if you can manipulate the flavor that way. Otherwise just letting the dough bulk ferment longer will contribute to more flavor as well. The only problem with an extra long ferementation is the possibility of overproofing and losing gluten structure and oven spring. It will be a balancing act until you figure out what works the best. Good luck! And let me know how it goes!


Cedric
Sunday 19th of October 2025
Is there any adjustments I should try making for a more golden crust? I’ve used this recipe for a few years now and can’t seem to get a deep golden crust like others.
Butter For All
Wednesday 19th of November 2025
Hi Cedric,
You might just try leaving the lid off the Dutch oven for an extra 5 to 10 minutes. If you've already tried that and it's still not getting a deep golden color then I would say your bread might need a little more fermentation time. Let me know how it goes!
Roderick Edwards
Saturday 19th of July 2025
I have used this recipe several times now with mixed results. I believe that I am following the very detailed guidelines exactly but seem to arrive at the stage following stretch and fold with a dough that is looser/stickier that that in the video. After several hours of proofing after doubling in size it is almost impossible to fold and form it into a ball with a nice stretched skin . In my last effort I had to scrape the sticky dough out of the banneton. My last attempt resulted in a loaf that looks like a deflated foot ball. Any advice would be appreciated. My one success was quite tasty and I would like to continue with this recioe
Butter For All
Sunday 7th of September 2025
Hi Roderick, This sounds like it could be an issue with inconsistent feeding of your starter. If your starter is extremely hungry and unbalanced it could potentially break down the gluten structure in the dough during fermentation. The reason I think this may be the case is because of the deflation issue during and after baking. That sounds like an unbalanced starter at work. I would first try feeding your starter consistently up to mixing the dough and always keeping it well fed in general. If you don't believe that to be the problem, then it may just be a hydration issue with the particular flour that you're using. I would suggest adding flour 25 G at a time until you get a dough that you feel is easy to handle.
I hope these tips help, let us know how it goes!
Allyson
Friday 7th of February 2025
This is a wonderful recipe! Soft texture and great rise. Going to keep this one in my files! Thanks!
Patricia M
Saturday 31st of August 2024
I watched the video and followed the directions to a T. I am not new to sour dough or baking. I have a strong starter and everything I make comes out great… except boules! You recipe was easy to follow and everything went exactly to plan until I inverted the cough onto the parchment! 😕. It spread out - to what I think was to much. I scored it and popped into the preheated DO. I did add some ice cubes and put a baking stone on the lower rack. I also have a trivit that fits inside my DO. Baking it now. Hopefully it rises up. 🤞🏻
Butter For All
Friday 6th of September 2024
Hi Patricia!
I'm really excited to hear what happened with this loaf! I hope you'll come back and leave me a note :)
Sharleen
Thursday 28th of March 2024
I’ve been making your Sourdough Boule recipe for a few years and love it! I was wondering if there is a way to make it more sour?
Dave
Thursday 5th of December 2024
@Butter For All, You can also use "Sour Salt" as well. King Arthur has an article on how to use this ingredient to increase its tanginess.
Butter For All
Tuesday 2nd of April 2024
Hi Sharlene!
I'm so happy to hear it! You can try working with a very mature sourdough starter that has more acid buildup. I would recommend splitting your sourdough starter and letting 1/2 ferment until it's very sour. Then use that in place of the active sourdough starter and see if you can manipulate the flavor that way. Otherwise just letting the dough bulk ferment longer will contribute to more flavor as well. The only problem with an extra long ferementation is the possibility of overproofing and losing gluten structure and oven spring. It will be a balancing act until you figure out what works the best. Good luck! And let me know how it goes!