
I’m a big fan of winter squash.
I love growing them, I love eating them, I love the way they look around the house and decorating my table and front door. They are so colorful, bright, and beautiful! But what I love most about winter squash is the deep sweet flavor that you get when you roast it.


In this recipe I take homegrown winter squash and roast it to soft perfection. Making your own pumpkin purée cannot match the deep earthy sweetness of roasted winter squash. I’ve been making this winter squash pie for three years and I have never looked back at pumpkin even once.
Don’t worry, you get all the same warm winter spices in this recipe that you would traditionally have in a pumpkin pie but the flavor is even better. The dates that I use in this recipe to sweeten the pie add an even deeper caramel flavor to the filling. Trust me — try this recipe, you will not be sorry!
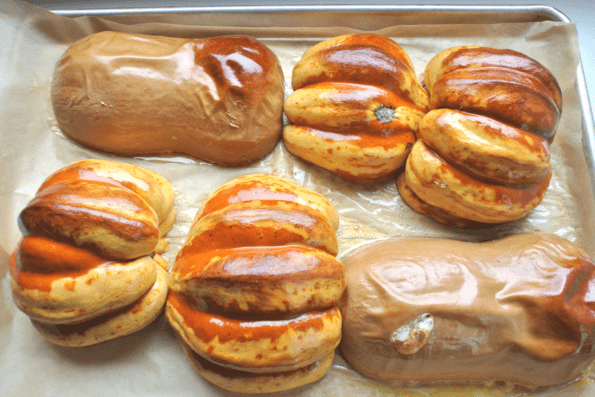
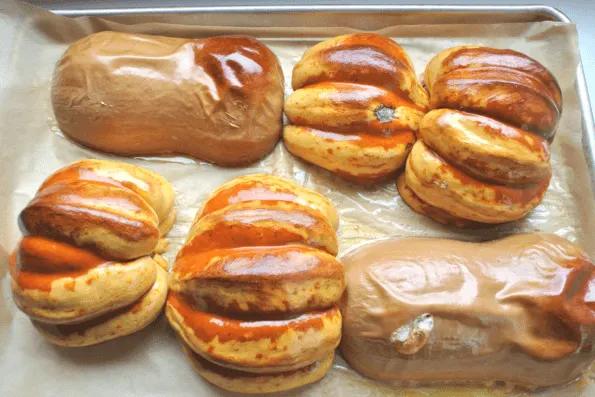
I used two types of winter squash in my pie this year, a homegrown butternut squash along with a homegrown carnival acorn squash. Both of these varieties grow well, are easy to care for, and are very prolific, so you get a lot of bang for your buck with just one or two plants. Any variety or combination of sweet winter squash will work in this recipe.
I love putting winter squash away after the harvest. It’s so satisfying to see all of that homegrown goodness put up and knowing it is going to sustain you throughout the entire winter. This recipe will not only sustain you, it will enlighten you!
This recipe makes a deep thick pie that can easily serve 12.
To Prepare Your Pie:
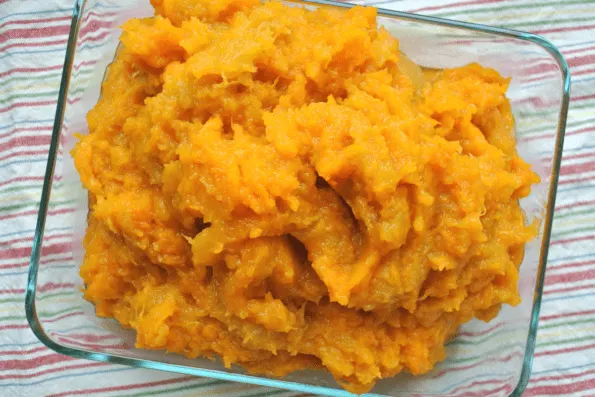
Preheat the oven to 350°F. Cut the squash in half and remove the seeds. Line a baking sheet with parchment paper and place the squash on the sheet cut side down. Roast the squash until it’s fork tender, about 1 hour.
Let the squash cool and then scoop the flesh out of the skin with a spoon. Refrigerate the squash or freeze for future use. I like to roast several squash at a time and then freeze the flesh for use in soups or more pies!

To make the pie, preheat your oven to 375°F. Roll out the pie dough and shape it into your pie pan. In your food processor with the blade attachment add the roasted squash and dates and purée both until very smooth.

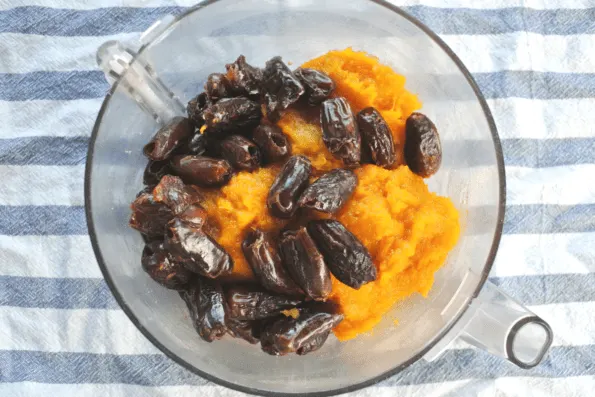
Add the spices, salt, and vanilla and purée again. In a small bowl combine the eggs and cream and whisk lightly. Add this mixture into the squash slowly while the food processor is running. The filling should look fluffy and smooth. You may see some small pieces of date and that’s totally okay. You just don’t want it to be chunky!
Fill the pie with the squash filling and bake it on the center rack for 15 minutes. This helps get the crust headed toward a nice golden color.

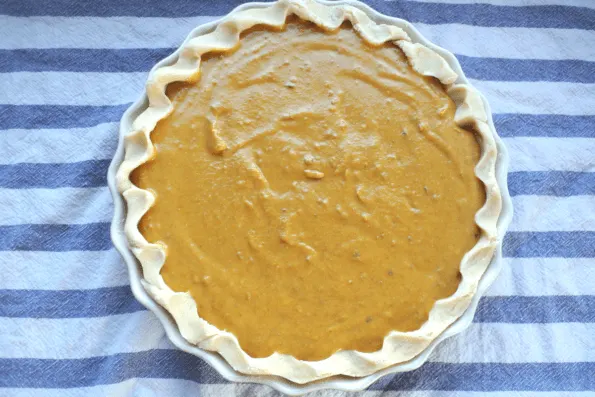
Lower the temperature in the oven to 350°F and continue baking for 40 minutes. At this point, the filling should be set and the middle shouldn’t jiggle when you gently shake the pie. Turn the oven off and open the door but don’t remove the pie. Let it cool in the oven for at least 15 more minutes. If your pie cracks when it cools, have no fear. That’s what the maple whipped cream is for.
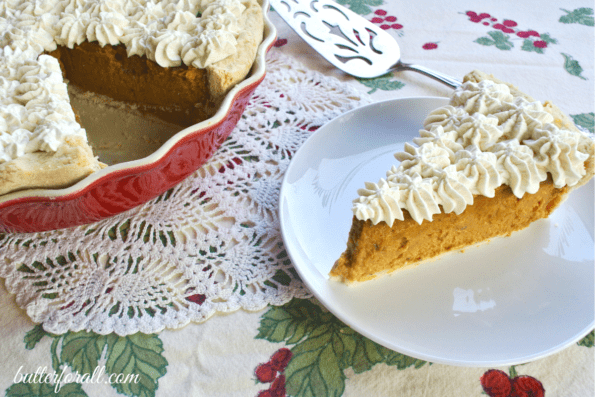
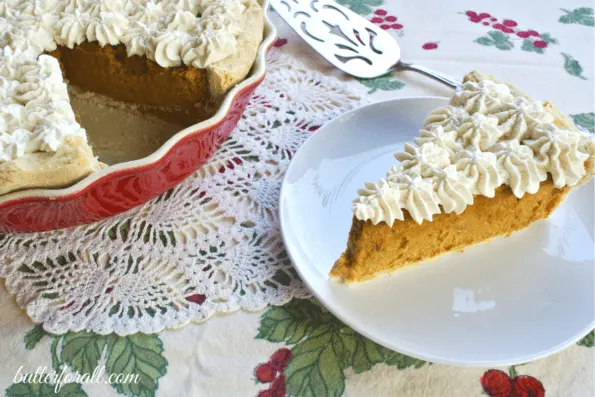
When the pie is completely cooled whip the cream and use a piping bag and tip to decorate the top of the pie for a pretty presentation.
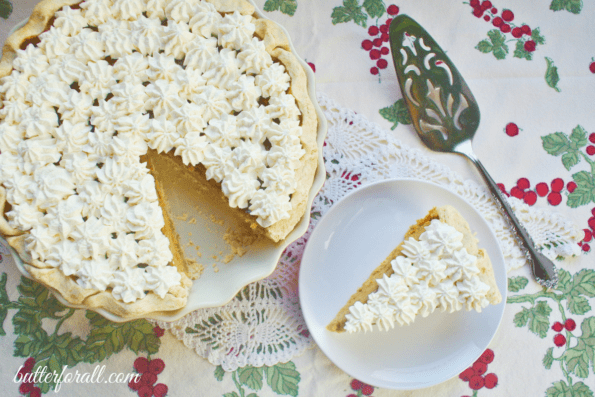


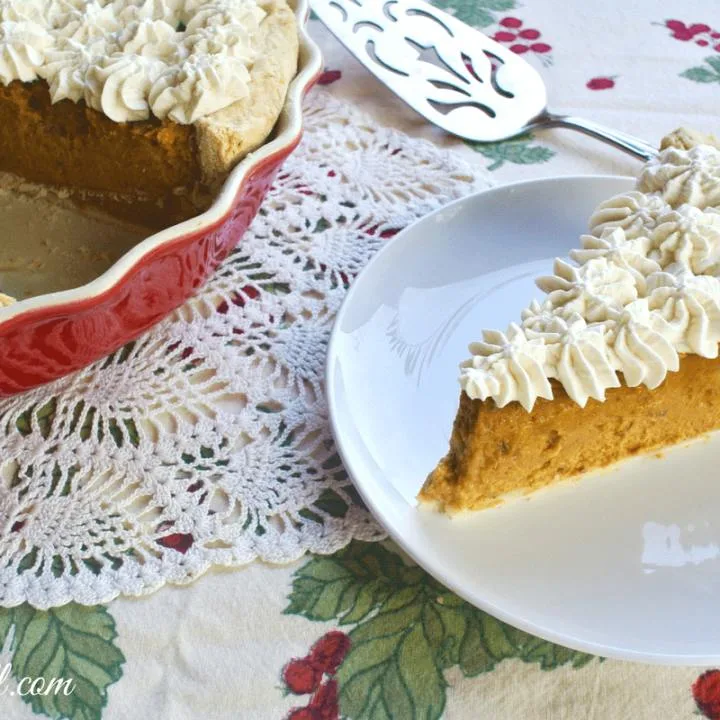
Date-Sweetened Winter Squash Pie With Maple Whipped Cream
Learn how to roast and purée your own winter squash to make a gorgeous festive pie that rivals traditional pumpkin pie. Any variety or combination of sweet winter squash will work in this recipe.
Ingredients
- 1 Ultimate Lard Pie Crust, or Sweet and Buttery Sourdough Crust
- 3 cups roasted winter squash (about 2 to 3 pounds of squash before roasting)
- 3/4 pound pitted dates
- 1 teaspoon ground ginger
- 1 teaspoon ground cinnamon
- 1 teaspoon vanilla
- 1/2 teaspoon ground nutmeg
- 1 pinch sea salt
- 4 eggs
- 1/2 cup cream
To make the maple whipped cream
- 1 cup heavy cream
- 1 teaspoon vanilla
- 1 tablespoon maple syrup
Instructions
- Preheat the oven to 350°F. Cut the squash in half and remove the seeds. Line a baking sheet with parchment paper and place the squash on the sheet cut side down. Roast the squash until it's fork tender, about 1 hour.
- Let the squash cool and then scoop the flesh out of the skin with a spoon. Refrigerate the squash or freeze for future use. I like to roast several squash at a time and then freeze the flesh for use in soups or more pies!
- To make the pie, preheat your oven to 375°F. Roll out the pie dough and shape it into your pie pan. In your food processor with the blade attachment add the roasted squash and dates and purée both until very smooth.
- Add the spices, salt, and vanilla and purée again. In a small bowl combine the eggs and cream and whisk lightly. Add this mixture into the squash slowly while the food processor is running. The filling should look fluffy and smooth. You may see some small pieces of date and that's totally okay. You just don't want it to be chunky!
- Fill the pie with the squash filling and bake it on the center rack for 15 minutes. This helps get the crust headed toward a nice golden color.
- Lower the temperature in the oven to 350°F and continue baking for 40 minutes. At this point, the filling should be set and the middle shouldn't jiggle when you gently shake the pie. Turn the oven off and open the door but don't remove the pie. Let it cool in the oven for at least 15 more minutes. If your pie cracks when it cools, have no fear. That's what the maple whipped cream is for.
- When the pie is completely cooled whip the cream and use a piping bag and tip to decorate the top of the pie for a pretty presentation.
Learn How To Preserve Winter Squash at Home!
How to Freeze or Can Pumpkins & Winter Squash – The Self Sufficient HomeAcre
Mark
Wednesday 27th of November 2019
Looks great and I’m about to make this for Thanksgiving tomorrow. Looks like you only need 1/2 of the pie crust recipe as it is a single crust pie, correct?
Butter For All
Wednesday 27th of November 2019
Hi Mark!
You are correct. The pie crust recipe makes two pie shells or one covered pie!
Hope you have a wonderful holiday,
Courtney