
Raising backyard chickens for eggs is a rewarding way to boost food security and enjoy fresh, nutrient-dense eggs. With minimal time and space, chickens offer a sustainable source of eggs and meat, perfect for urban homesteads or small backyards. Below, I share my journey, practical tips, and a recipe for soaked and fermented chicken feed to keep your flock thriving.

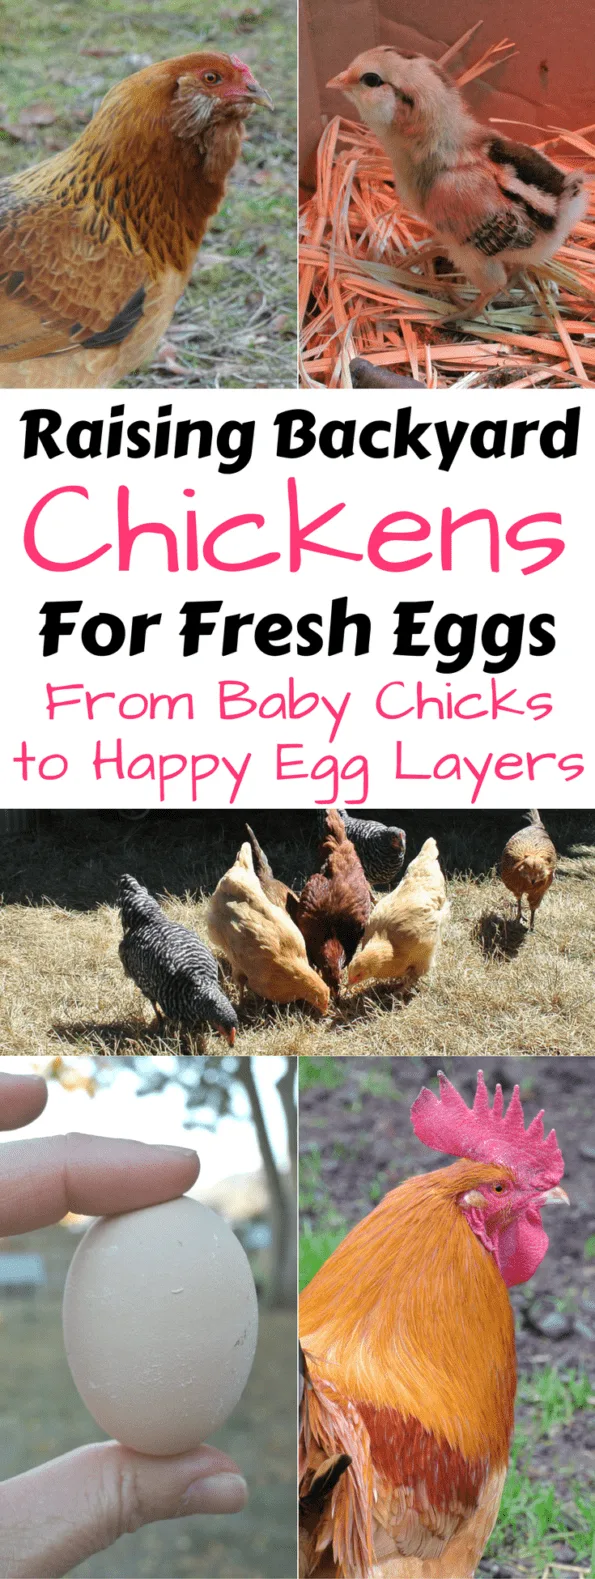
Why Choose Backyard Chickens?
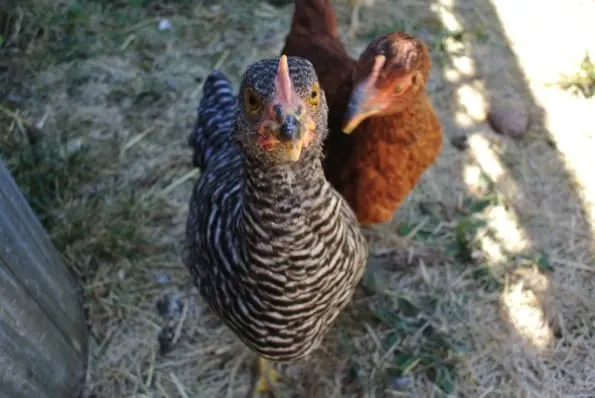
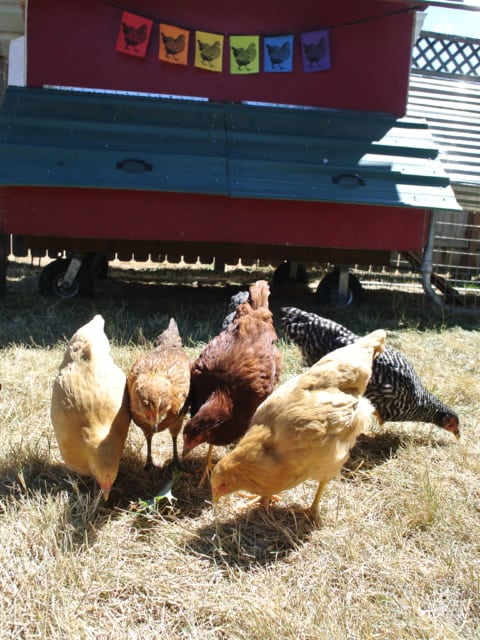
Chickens are the easiest livestock for beginners, requiring just 10-15 minutes daily for feeding, watering, health checks, socializing, and egg collection. They’re affordable, needing little space or investment, and are family-friendly—my daughter was safely handling our hens by age two with supervision! Eggs from your flock are rich, fresh, and a step toward self-sufficiency.
Should You Keep a Rooster?
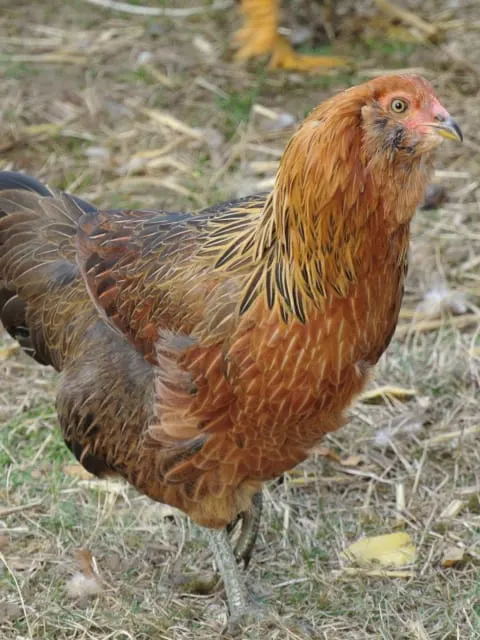
Roosters add vibrancy to your flock with their colorful feathers and can protect free-ranging hens. However, they may become aggressive, especially around children, and their crowing can disturb neighbors. Always check local regulations for livestock and discuss plans with neighbors to avoid conflicts.
Getting Started: Resources for Chicken Keeping
New to chickens? Start with reliable resources:
- Books: Pick up beginner-friendly guides on chicken care at your local library. They cover health, housing, and common issues, serving as a go-to reference.
- Online Communities: Join homesteading or chicken-focused groups on platforms like Facebook for tips and support from fellow keepers.
Preparing for Baby Chicks
Raising chicks is a joy, filled with adorable moments. Here’s what you’ll need:
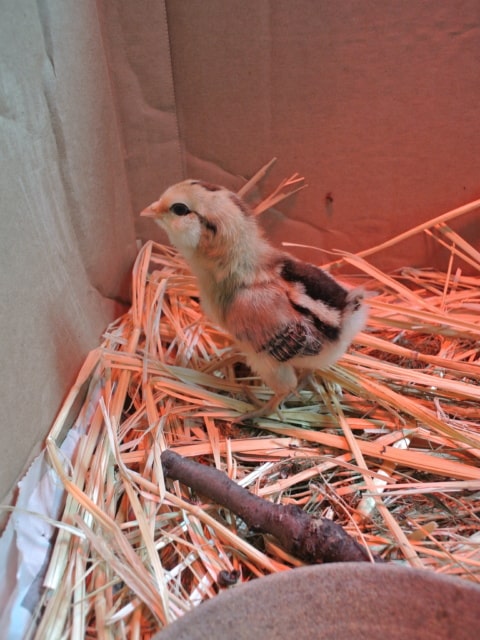
1. Brooder Setup
A brooder keeps chicks safe and warm for 5-6 weeks until they’re ready to move outside. I used a free cardboard watermelon box from the market, but large plastic containers or galvanized tubs work too. At 2-3 weeks, when feathers emerge and weather is mild, let chicks explore a secure outdoor area for an hour or two, ensuring food and water are available.
2. Heat Source
Chicks need warmth. Heat lamps are common but pose fire risks if not secured. I prefer ceramic infrared heat bulbs with porcelain sockets for warmth without bright light. Radiant heat brooders are safer, energy-efficient, and let chicks self-regulate by moving in and out of the heat.
3. Chick Feeder and Waterer
Choose feeders and waterers that fit regular-mouth canning jars—perfect if you have extras at home. They’re practical and easy to clean.
4. Chick Feed and Grit
Opt for organic, non-medicated starter feed for the first 8 weeks. I use Scratch and Peck’s organic feed for healthy, organic hens. Chick grit helps digestion by providing roughage to break down food. Small urban flocks rarely need medicated feed, but research to decide what’s best for you.
5. Bedding
Organic rye straw with dried grasses worked wonders for my chicks, aiding balance and pecking instincts. Kiln-dried wood shavings or sand are great alternatives. Avoid newspaper alone—it’s slippery and can harm leg development.
6. Sourcing Chicks
Buy chicks from local feed stores in spring or fall. Spring chicks transition outdoors without extra heat, while fall chicks grow indoors during winter, boosting egg production in warmer months. Online suppliers or local homesteading groups are also great sources—check Facebook for nearby communities.

Choosing the Right Chicken Breeds
Select breeds based on your goals:
- Egg Layers: Expect 6 eggs per week in spring/summer, dropping to ~3 in winter.
- Dual-Purpose Breeds: Ideal for both eggs and meat.
- Meat Breeds: Hybridized for fast growth but less focused on egg production.

Moving Pullets to the Coop
Once feathered (around 5-6 weeks), pullets are ready to move outside. Here’s what you need:
1. Coop and Run
Chicken coops vary from mobile tractors to custom builds. Tractors are great for urban yards, letting hens scratch fresh ground. Coops should include nest boxes for egg-laying and roosts for sleeping. Build your own using online plans or buy pre-made coops. Avoid used coops unless thoroughly inspected for mites or lice, which can persist for months.
2. Chicken Feed
Switch to grower feed from 8-18 weeks, then layer feed after 18 weeks. Oyster shells provide calcium for strong eggshells. I love Scratch and Peck’s organic, non-GMO, corn- and soy-free layer feed, which ferments well for added nutrition.
3. Feed Storage
Store feed in a galvanized trash can to deter pests like rats or raccoons. Plastic containers are less secure and easily chewed.
4. Bedding Options
Straw or wood shavings are easy to clean and can be composted for garden use. Sand in coops or runs wicks moisture, stays dry, and doubles as a dust bath.
5. Feeder and Waterer
I scatter feed for scratching but use a shallow dish for fermented feed when I’m away. Nipple waterers keep water clean and hold plenty. Classic waterers work too.
6. Ceramic Eggs
At ~22 weeks, place ceramic eggs in nest boxes to train free-ranging hens to lay there, preventing eggs from being scattered. Remove them once hens consistently lay in the boxes.
When to Expect Eggs
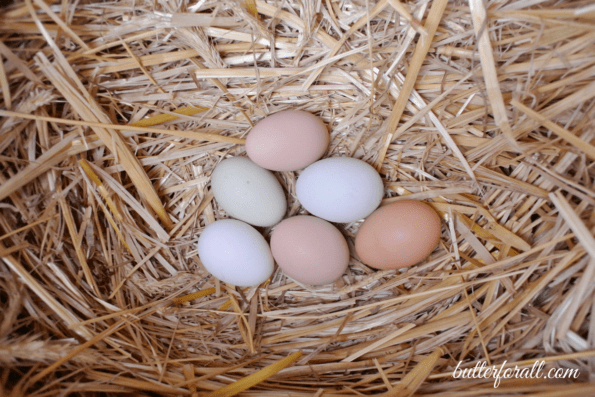
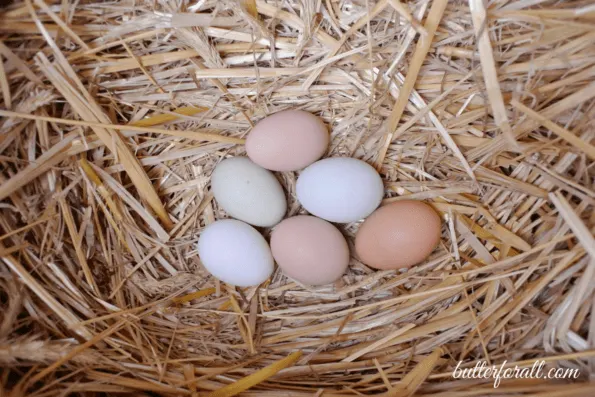
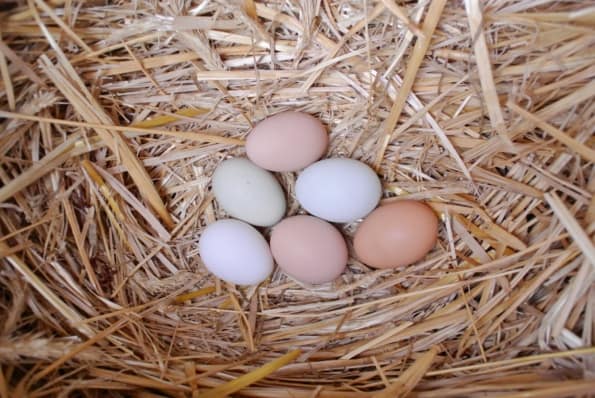
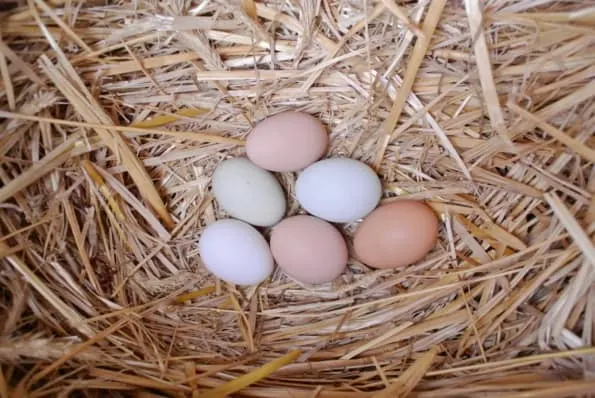
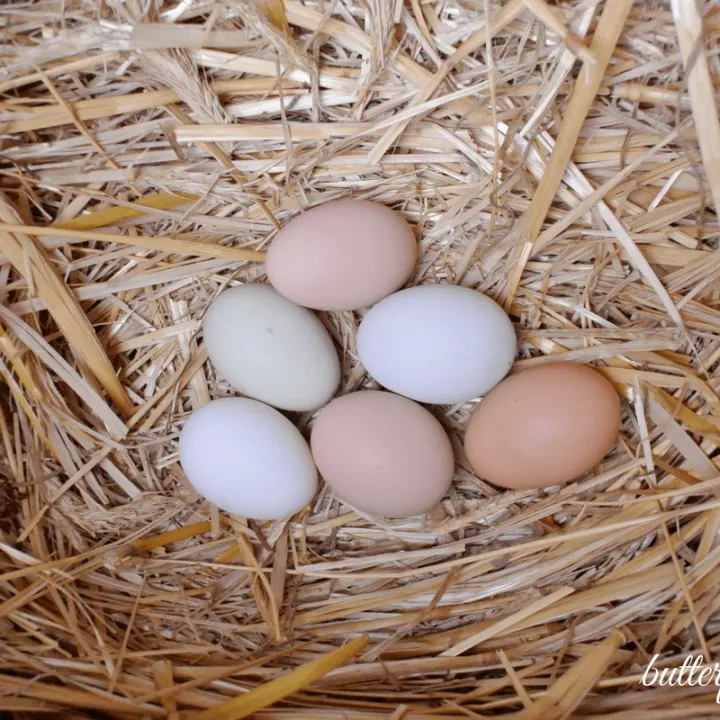
The thrill of finding your first egg is unmatched! Expect eggs around 23-25 weeks, starting small and sporadic but becoming daily. Eggs vary in size, shape, and color by breed. Chickens lay well for 3-4 years, slowing after, and live 5-7+ years with good care. Add new chicks every few years to maintain production.
Sustainable Chicken Care
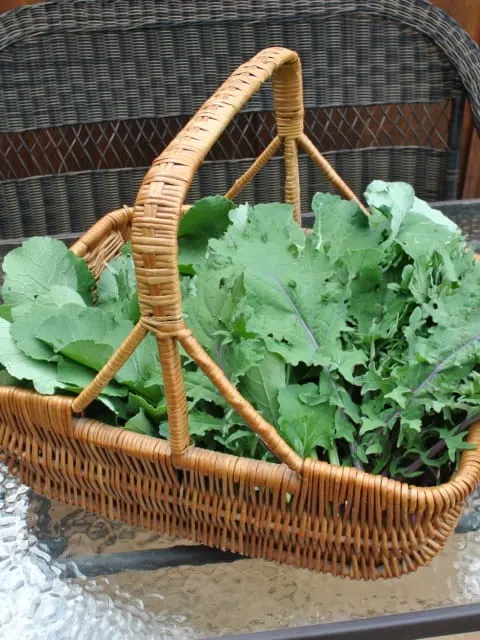
I feed my hens organic, non-GMO, corn- and soy-free grain from Scratch and Peck, soaked and fermented to boost nutrition and yield. They also love kitchen scraps, homegrown kale, and treats like mealworms, grubs, herbs, or cracked corn. This varied diet ensures nutrient-dense, flavorful eggs.


Egg-Based Recipe Ideas
Use your fresh eggs in these delicious dishes:
- 12 Egg Quiche: A flaky, lard-crust classic.
- Golden Milk Pots De Crème: Creamy, spiced custard.
- Sourdough Rich Dough: Soft, sweet braided bread.
Final Thoughts
Raising backyard chickens is a simple, joyful way to connect with your food. From setting up a brooder to collecting your first eggs, each step builds a sustainable, family-friendly homestead. Try the fermented feed recipe for healthier hens and richer eggs!

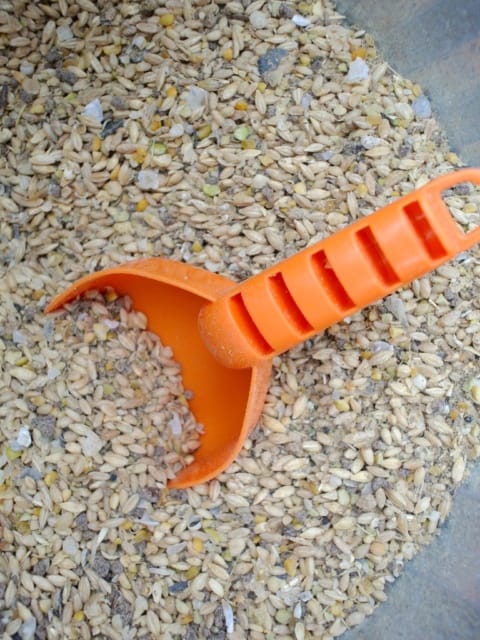
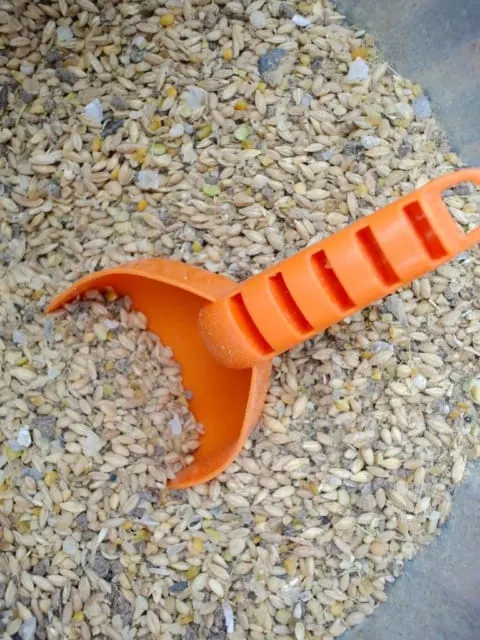
Soaked and Fermented Chicken Feed Recipe
Boost your flock’s health with this easy soaked and fermented chicken feed recipe! Made with Scratch and Peck layer mix, water, and whey, it yields 1 gallon to feed 12-24 chickens daily, enhancing nutrition and digestibility.
Ingredients
- 1 gallon jar
- 2 quarts Scratch and Peck layer mix
- 2-3 quarts water
- 2 tablespoons whey (from yogurt, kefir, or clabber milk)
Instructions
- Fill a 1-gallon jar halfway (2 quarts) with Scratch and Peck layer mix.
- Add water to the 3-quart mark, saturating the grain.
- Stir in 2 tablespoons of whey.
- Secure a loose-fitting lid and ferment for 24 hours.
- Pour the fermented feed into a chicken feeder, leaving a few tablespoons of grain in the jar.
- Refill with fresh feed and water (no additional whey needed) and ferment for another 24 hours.
- Repeat daily. Clean the jar weekly and start a fresh batch with new whey.
Notes
- Fermenting enhances digestibility and nutrient absorption, stretching feed further.
- Use a shallow dish for wet feed to prevent mold in humid climates.
- If whey is unavailable, apple cider vinegar (2 tbsp) can work as a fermentation starter.
- Store fermented feed in a cool, shaded area to maintain quality.
- The recipe yields 1 gallon of soaked and fermented feed, sufficient for 12-24 medium to large breed chickens for 1 day. Adjust the dry feed amount based on breed-specific daily needs: small bantams (50-80g dry feed/day), medium breeds like Rhode Island Reds (100-120g dry feed/day), or large breeds like Orpingtons (120-150g dry feed/day). Scale up for larger flocks or heavier breeds, or reduce for smaller flocks or bantams.
Recommended Products
As an Amazon Associate and member of other affiliate programs, I earn from qualifying purchases.
-
 Run Chicken Door Model T50 (Red)
 -
 RentACoop 10x10 Inch Adjustable Heating Plate with Bonus Foldable Anti-Roost Cone for up to 15 Chicks | Small Chick Brooder Heat Plate – Energy-Efficient and Safer Than Heat Lamps
 -
 MATICOOPX 20 Egg Incubator with Humidity Display, Egg Candler, Automatic Egg Turner, for Hatching Chickens
 -
 North Mountain Supply 1 Gallon Glass Jar Wide Mouth with Black Plastic Lid - USDA, BPA-Free, Made in the USA - for Fermenting, Storing, Canning, and Much More!
 -
 RentACoop 2 Gallon Chicken BPA-Free Plastic Bucket Waterer Set with 4 Horizontal Nipples - Center Placement
 -
 Scratch and Peck Feeds Whole Grain Layer Mash Chicken and Duck Feed - 40 lbs Bag - Corn-Free and Soy-Free - 16% Protein, Certified Organic and Non-GMO Project Verified Chicken Food
Nutrition Information:
Serving Size: 1 gramsAmount Per Serving: Unsaturated Fat: 0g