

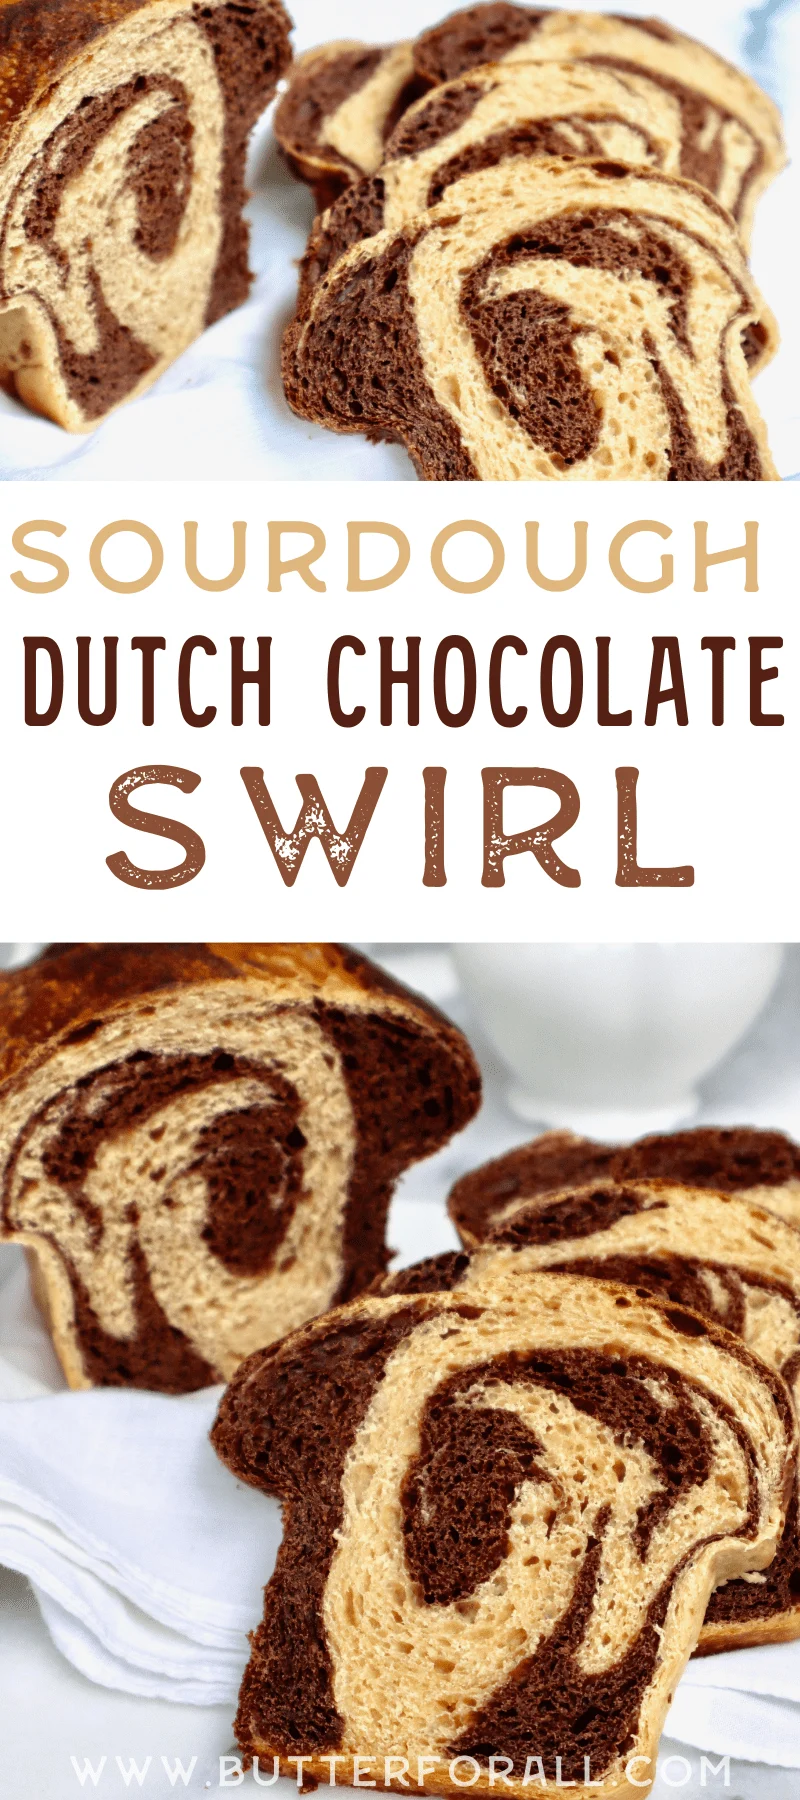
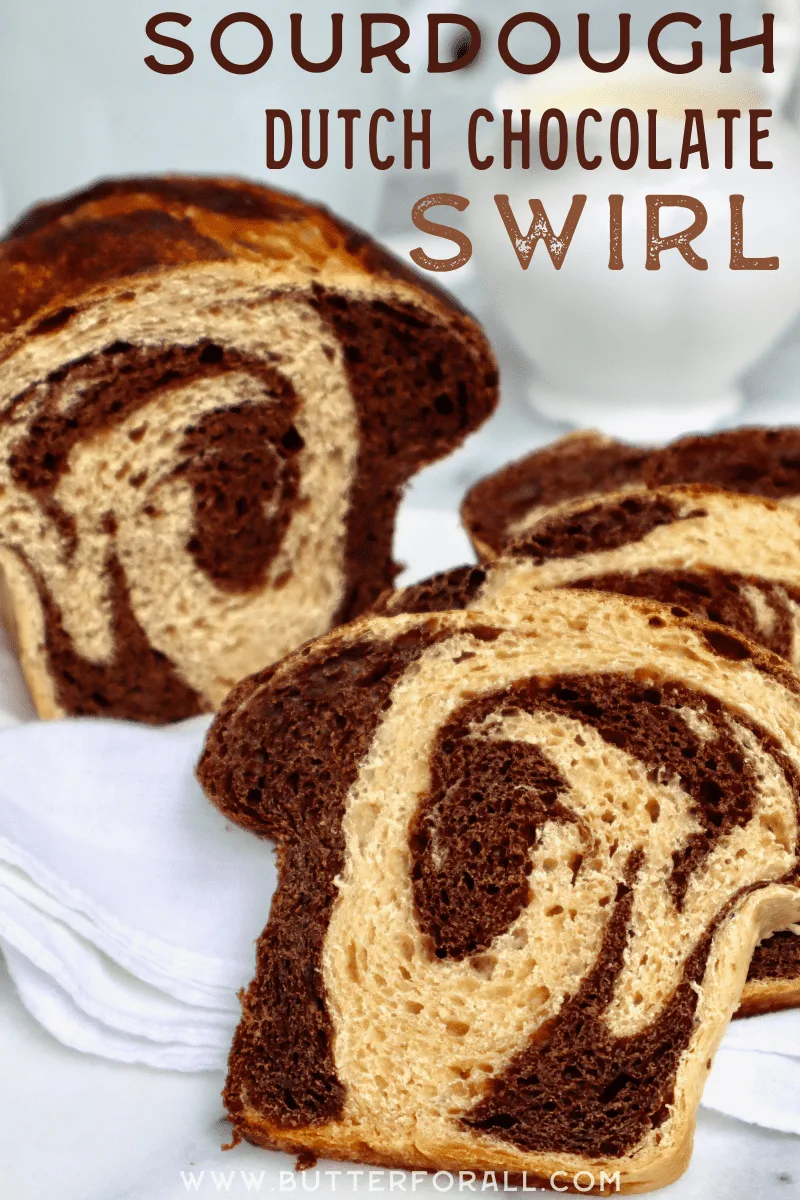
Dutch Chocolate Takes Center Stage
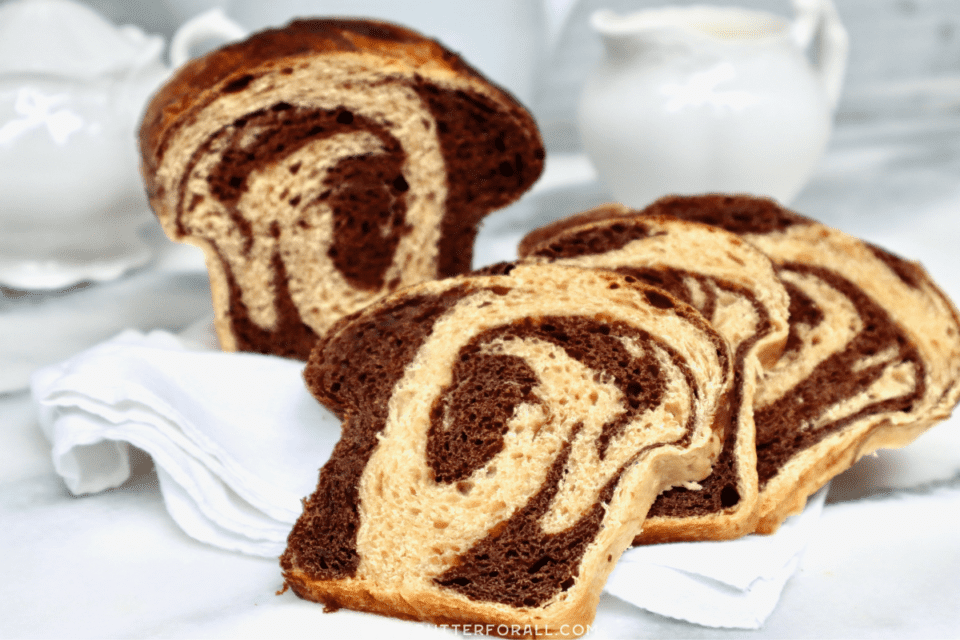
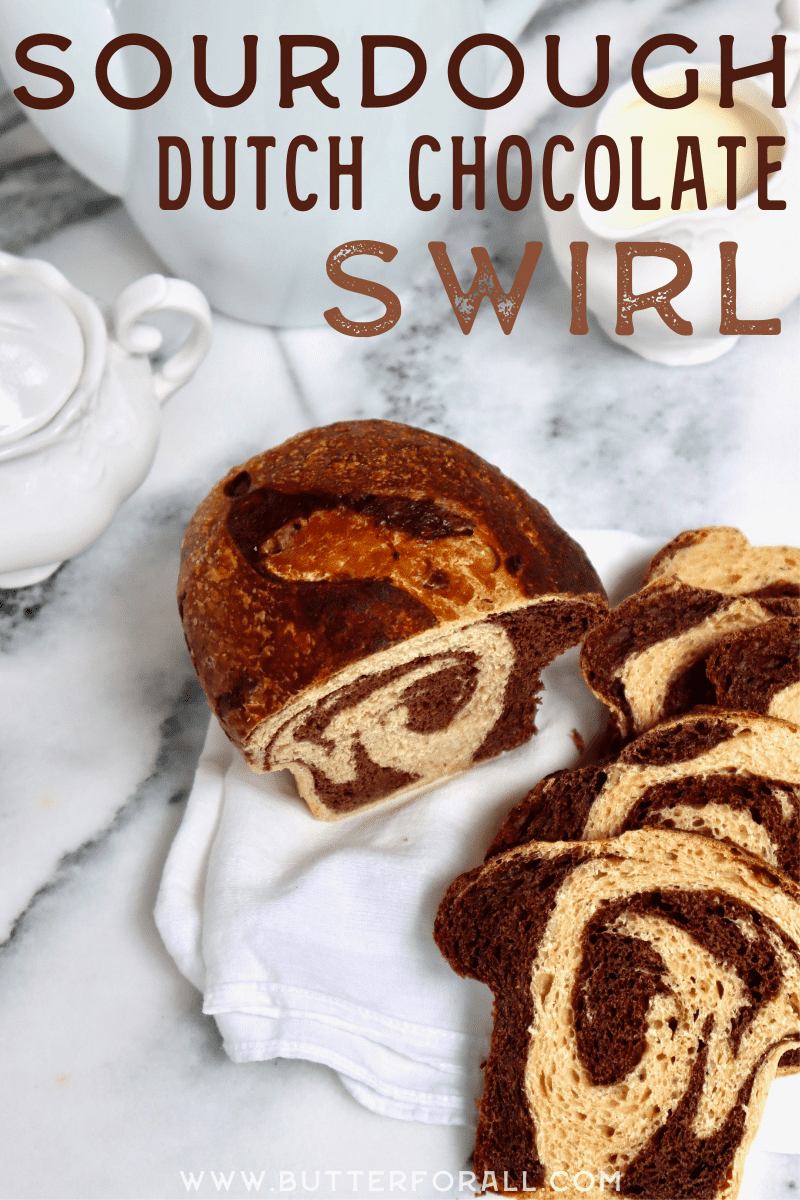
This spectacular sourdough bread features a deep, dark, Dutch chocolate swirl that is perfectly balanced against the light sweetness of organic coconut sugar.
The bread is made in two batches and then layered and rolled together to form a unique and natural swirling pattern.
Not only beautiful to look at, this masterful recipe also leaves your tastebuds applauding an encore.

The Scoop on Dutch Chocolate
Simply put, Dutch chocolate has been alkalized. Natural chocolate has an acidic pH of around 5. The “dutching” process uses an alkaline substance like potassium carbonate to reduce acidity and turn the cocoa from an acidic pH to a neutral pH of 7 or even an alkaline pH of 8.
Dutch chocolate therefore has a milder and less bitter flavor. This mellowed chocolate is perfectly paired with sourdough that already has a slightly acidic tang.

Compensating Dough Hydration When Using Dutch Cocoa Powder
Cocoa powder is about 50% carbohydrate so it’s important to understand that it absorbs water just as flour does.
It may be necessary to adjust the dough hydration if it feels too dry after the incorporation of cocoa powder. Add water 10ml at a time until the dough is soft and pliable.


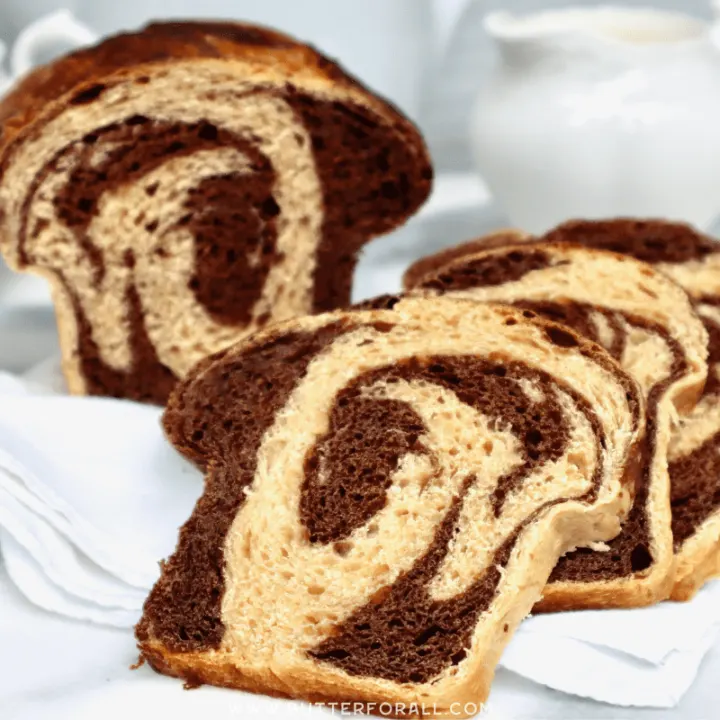
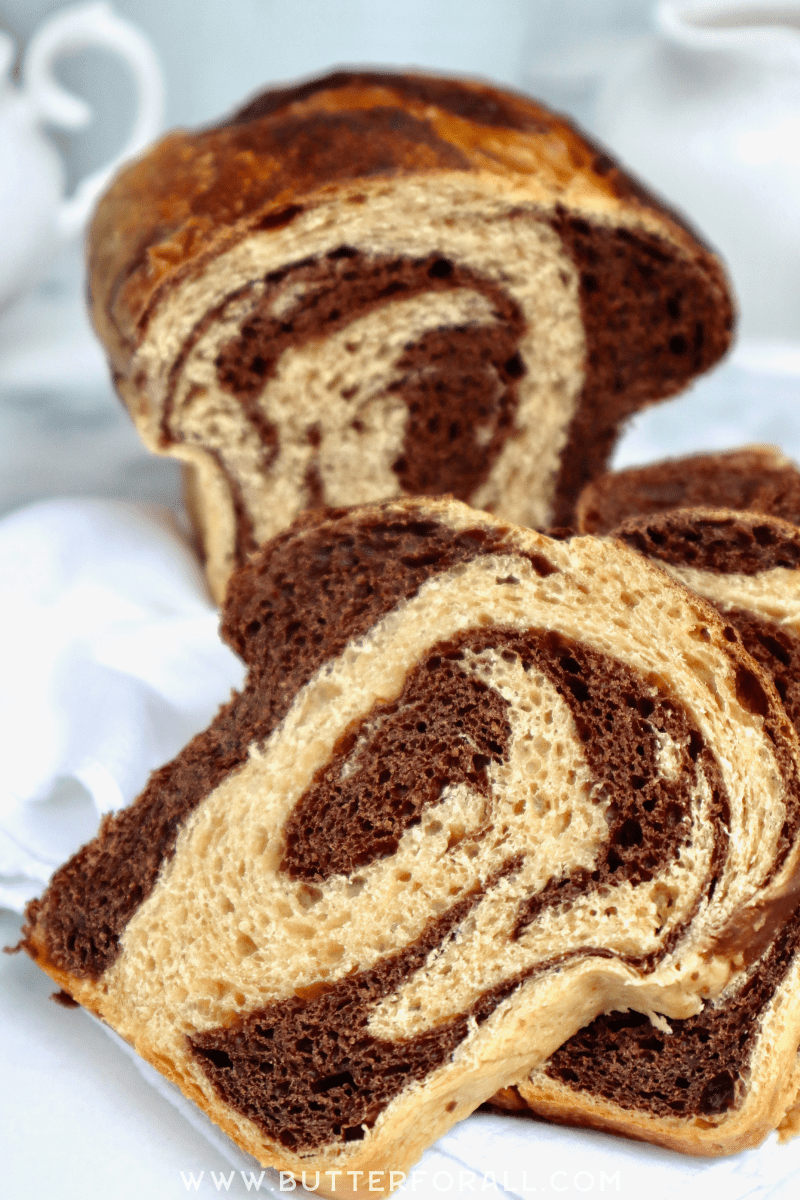
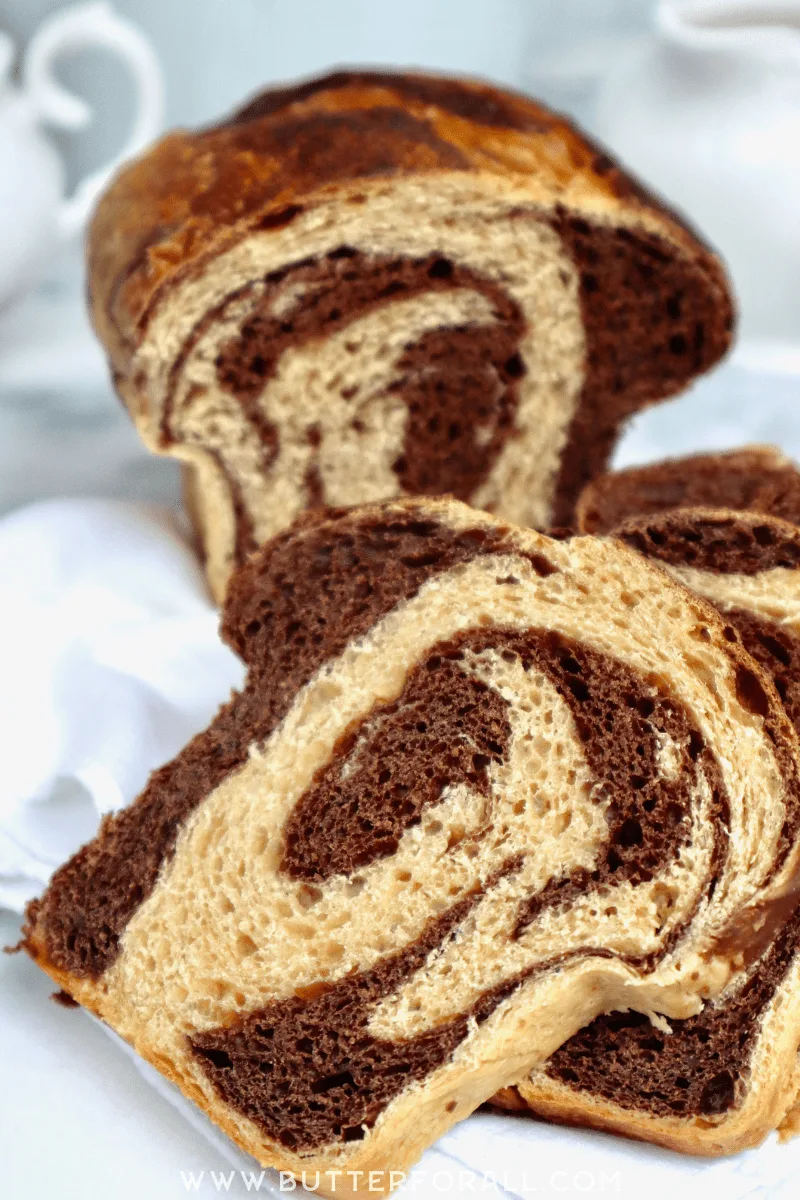
Sourdough Dutch Chocolate Swirl
The deep chocolate aroma and gentle earthy sweetness of this sourdough Dutch chocolate swirl bread will entice you every time. Sit down with a warm cuppa and indulge in a truly blissful bite. Definitely try this bread as French toast. I promise you won't be sorry you did.
Ingredients
- 398 grams whole milk, divided
- 612 grams organic all-purpose flour, divided
- 168 grams 100% hydration sourdough starter, divided
- 14 grams salt, divided
- 224 grams organic coconut sugar, divided
- 76 grams butter, melted, divided
- 75 grams Dutch cocoa powder
- 10 to 40 grams water, as needed
Instructions
This recipe is made in two unique batches, plain and chocolate
Batch 1, Plain:
- In a medium-sized mixing bowl combine half of the milk (199g), half of the flour (306g), half of the starter (84g), half of the salt (7g), half of the coconut sugar (112g), and half of the melted butter (38g) and mix into a smooth elastic dough.
- This dough should be tacky and soft but not too sticky. Add a little bit of flour if you aren't comfortable working with high-hydration dough.
- Set this bowl aside.
Batch 2, Chocolate:
- In a second medium-sized mixing bowl combine half of the milk (199g), half of the flour (306g), half of the starter (84g), half of the salt (7g), half of the coconut sugar (112g), half of the melted butter (38g) and all of the Dutch cocoa powder (75g) and mix into a smooth elastic dough.
- Add water as needed to achieve a hydration similar to Batch 1.
Stretch and Fold Kneading:
- Over the next 30 to 90 minutes do several series of stretch and folds to both doughs with 5 to 10 minutes between each interval.
- Once a strong gluten structure has been attained, cover the bowls and start bulk fermentation at a cool room temperature (60-70℉) until the dough has doubled.
Bulk Fermentation:
I like to bulk ferment overnight so that my dough is ready for shaping in the early morning. If you are interested in trying that schedule and your ambient temperature is cool enough, start your dough right before bed!
If you are dealing with warmer temperatures you can bulk ferment for a few hours on the bench before shaping or refrigerating the dough.
You can always use your refrigerator during this step to help with time management.
Shaping:
If your dough was refrigerated, remove it 30 minutes prior to shaping.
- Turn the plain dough out onto a lightly floured work surface and pat it down a bit to deflate it.
- Turn the chocolate dough out on top of the plain dough and pat it out to the same size.
- Lightly dust the surface with flour and pat or roll the stacked dough into a large rectangle about 2 inches thick.
- Starting at one end, roll the dough into a log.
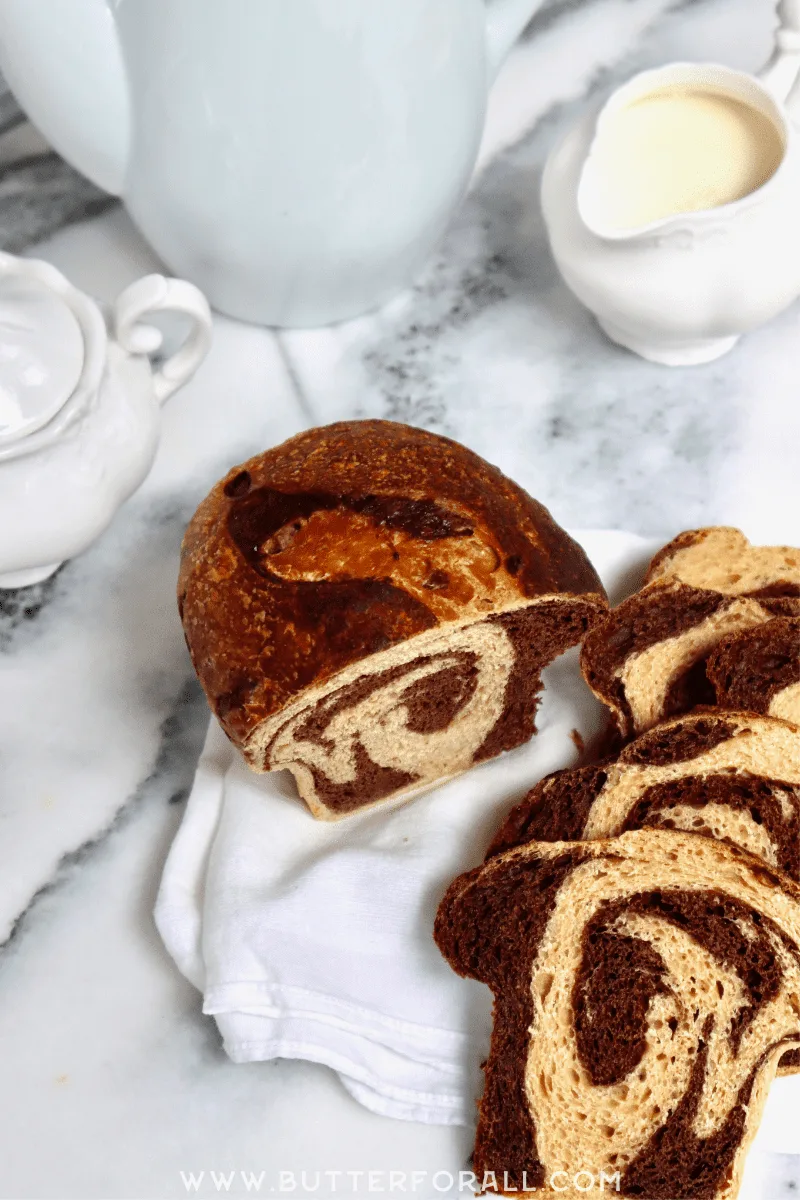
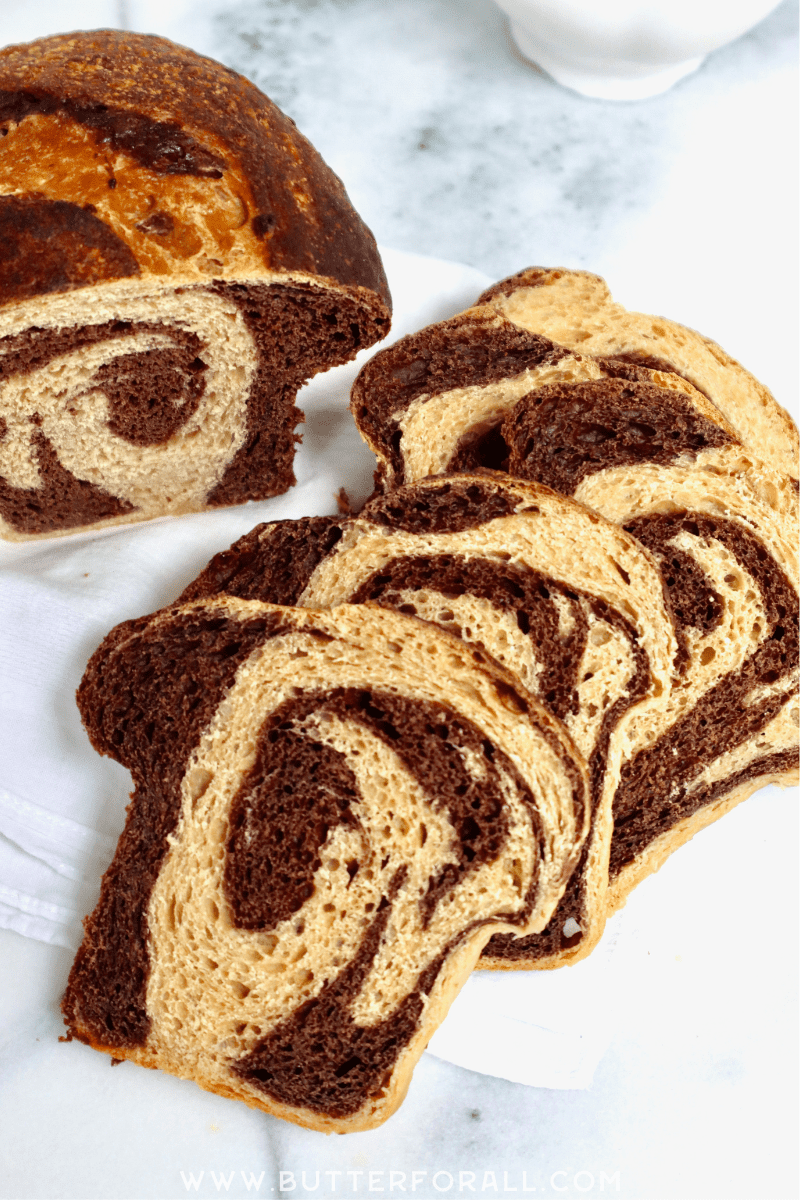
- For a very uniform swirl pattern, cut the log into sections, pinch the ends, and place them in greased loaf pans.
I personally like a little more variation in my swirls so I will gather the dough into a ball at this point and cut it into quarters. I let the dough rest and then shape each loaf individually without much regard for the pattern. This gives me a more fluid and natural swirl.
Proofing and Baking:
- Brush the top of each loaf with melted butter.
- Let your loaves rise covered for several hours (as long as it takes them to double in size).
- Preheat your oven to 400℉.
- Bake the loaves at the center of the oven for 30 to 35 minutes.
- If the top browns too quickly, tent the loaves with foil or parchment to keep them from burning.
- Remove the bread from the oven and let cool for 20 minutes before removing from the loaf pans.
- Cool the bread completely on a wire rack before slicing.
Recommended Products
As an Amazon Associate and member of other affiliate programs, I earn from qualifying purchases.
-
 100% Organic All Purpose Unbleached White Baking Flour - 10 Pound
 -
 King Arthur Flour, Organic All Purpose Flour, 32 oz
 -
 Pyrex 8-piece 100 Years Glass Mixing Bowl Set (Limited Edition)
 -
 Tovolo Stainless Steel Dough Whisk, 12 Inch
 -
 Danish Dough Whisk and Bread Lame Set Double Eye
 -
 NuNaturals Organic Cocoa Powder, Premium Dutch-Process For Drinking and Baking, 1 lb
 -
 Fiddle and Fern Rectangle Collection Mini Loaf Pans, Set of 4, 6-inch Length
 -
 Wilton Recipe Right Non-Stick Mini Loaf Pan, 4-Cavity
 -
 Le Creuset Stoneware Heritage Loaf Pan, 9" x 5" x 3"
 -
 Stoneware Loaf Baking Dish


Maria
Tuesday 31st of October 2023
Hi. I’ve been trying to make these loaves. I’m currently working on my fourth batch. This dough does not rise. The taste is delicious but like I said it does not rise even during an overnight fermentation. I now, after the overnight cool room ferment time, added a tsp of baking soda and an extra 25g of starter. I’m doing a few rounds of stretch and folds now then I’ll shape them and see if they rise.
Butter For All
Sunday 5th of November 2023
Hi Maria!
Hmmm. That's very curious. How old and active is the starter? This recipe does have quite a bit of sugar in it, a very sweet dough can suppress the yeast activity, but typically that only happens with immature starter. If you feel like responding I'll try to help you get it sorted out!
Sigourney
Thursday 7th of September 2023
This looks awesome! I only have one loaf pan and am wondering if I can shape them like a more artisan loaf. Thanks!
Butter For All
Thursday 12th of October 2023
Hi Sigourney!
Absolutely! This should make two nice sized boules.