
I’m not really sure why this recipe for traditionally fermented, butter top sourdough wasn’t the first recipe on my blog.
It is by far one of the most, if not the most important recipe in my kitchen. I make at least one loaf of sourdough sandwich bread a week and I haven’t bought bread regularly in over 5 years. I’ve had my sourdough starter since 2003 but I only perfected this sandwich loaf about 5 years ago.
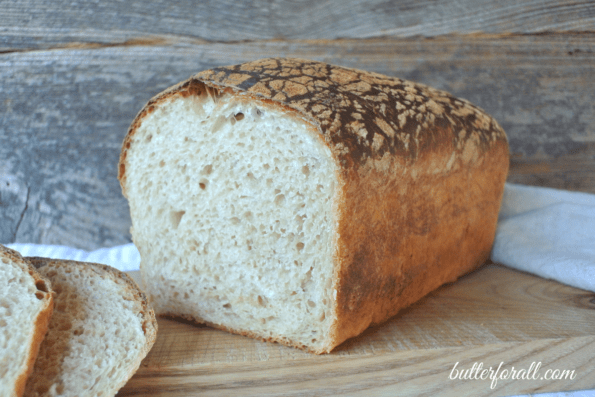

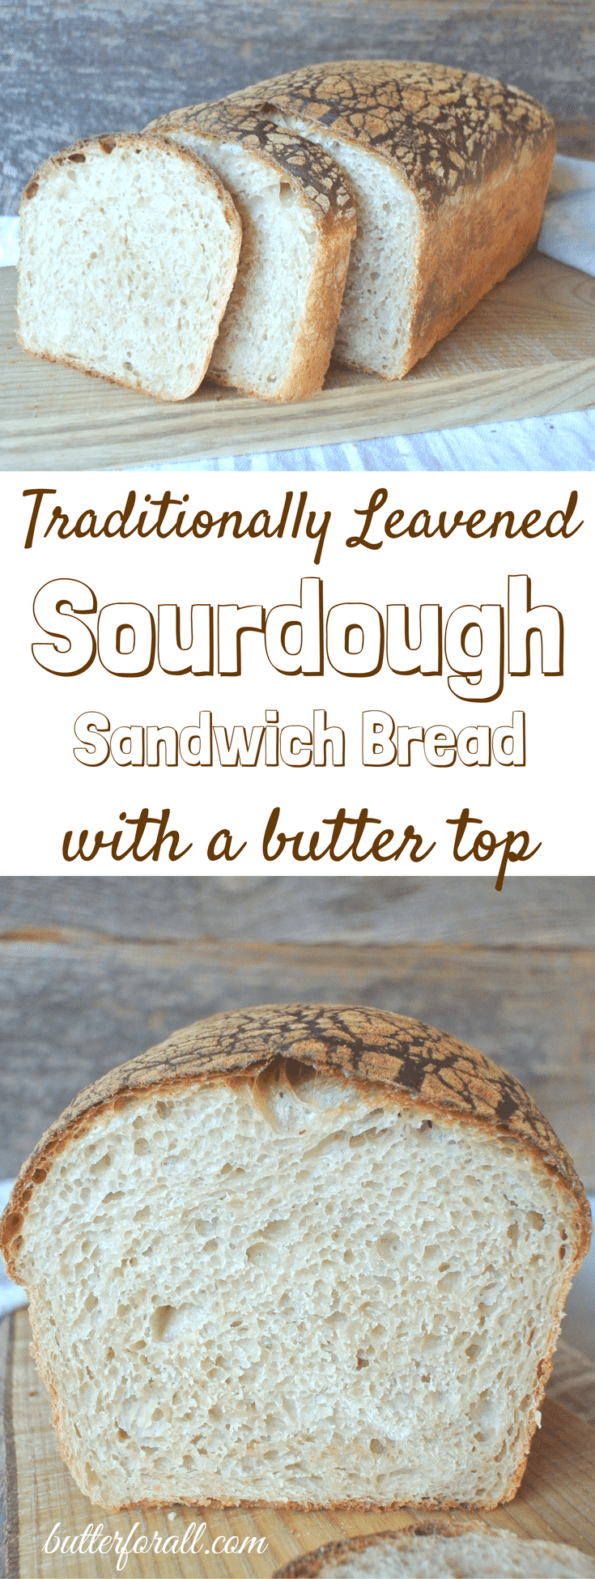
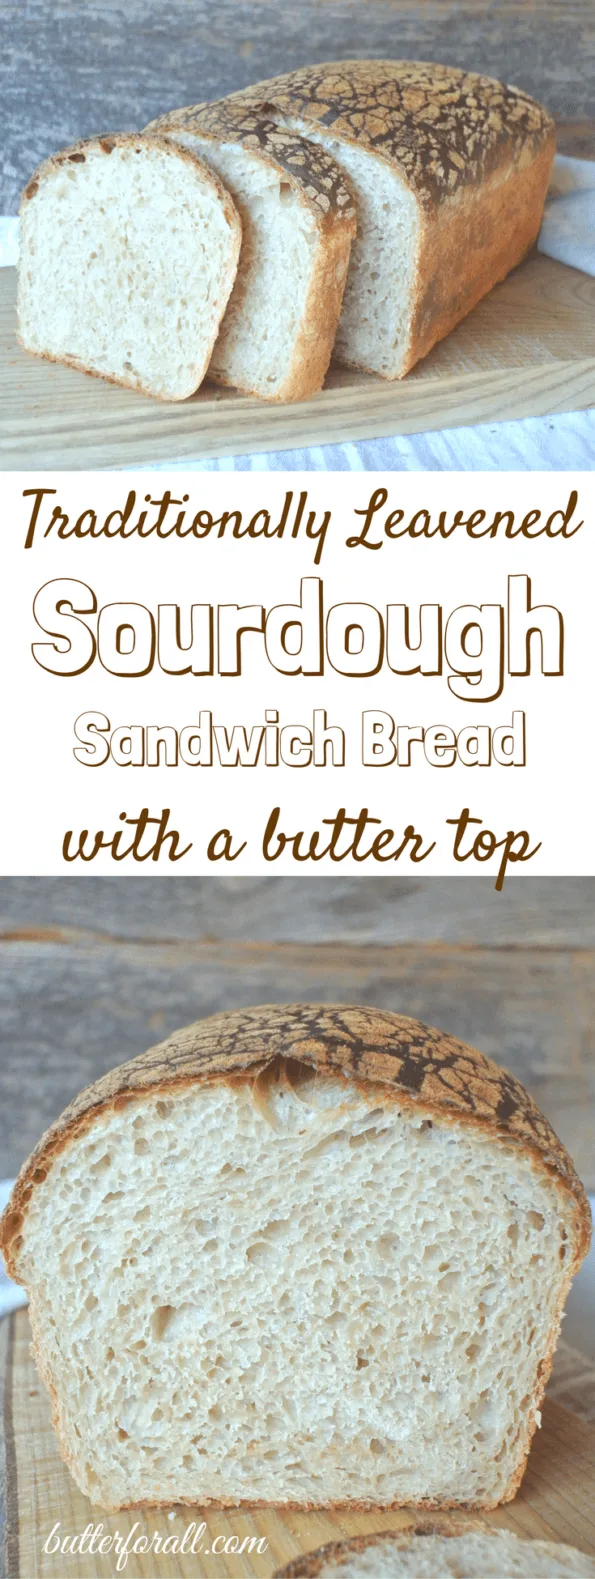
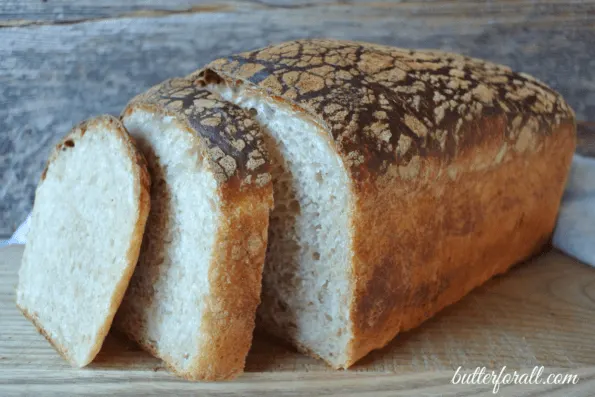
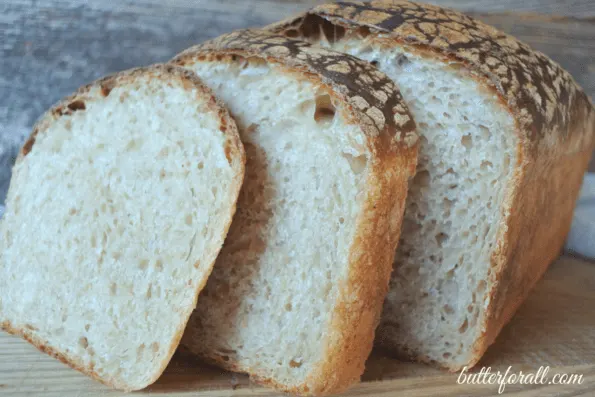
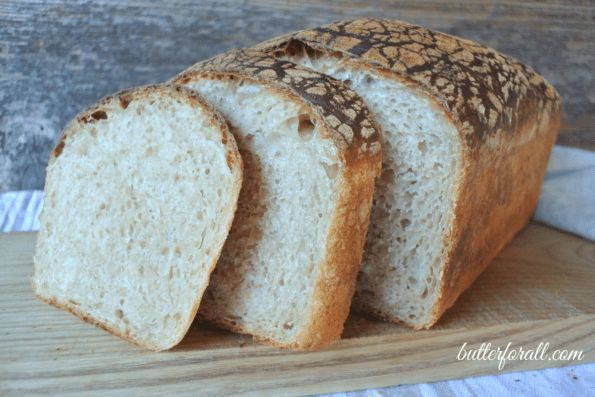
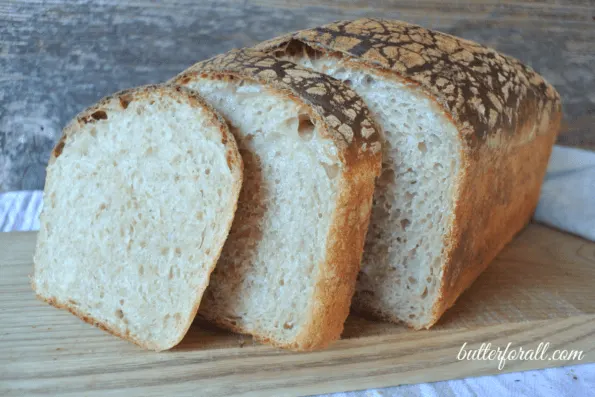
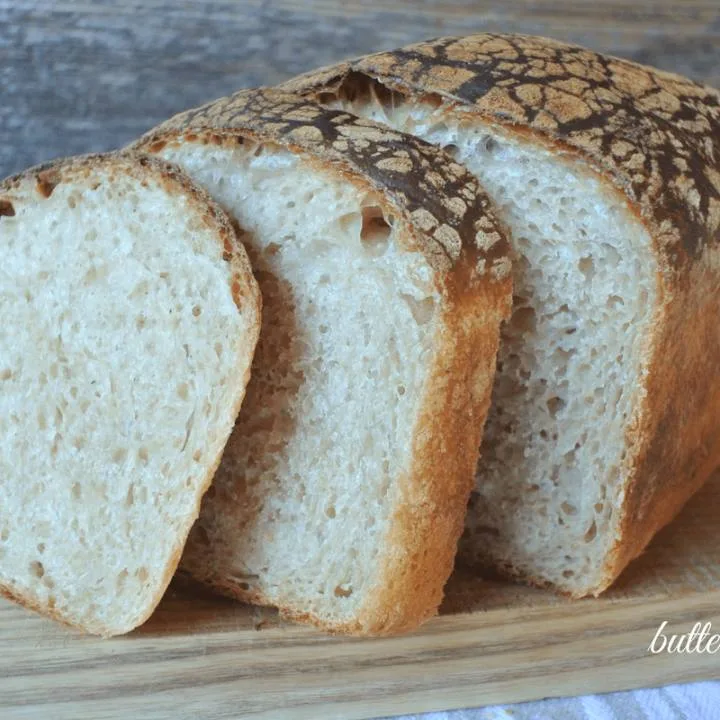
The crumb is soft, fluffy, and chewy, with a nice caramelized crust. The butter top is my little signature and gives the crust a beautiful crackle appearance and toasted buttery flavor.

The butter top came to be when I decided to start greasing my baking pans. I don’t like a lot of extra, unfermented flour hanging on the crust so greasing the pan seemed like a better solution. Of course I used butter and I’m so glad I did.

This amazing sourdough sandwich bread is not just for sandwiches (although, it’s great for my Sourdough, Sharp Cheddar, and Thyme Monte Cristo). It is also perfect toasted with extra butter and makes one of our all-time family favorites, sourdough French toast. I hope you will try it!
To Make Butter Top Sourdough Sandwich Bread:
Recipe yields one large loaf.
Gently mix all the ingredients by hand or by machine until a smooth dough forms. The dough should be soft and tacky but not sticky. You may need to add a bit of water or flour at this point, one pinch at a time. Rest the dough for 5 minutes. Continue to knead the dough until it’s elastic and passes the windowpane test.
The windowpane test is taking a bit of dough and flattening it between your fingers. Pull and stretch the dough until you can see light coming through it. If you can do this without the dough ripping, then the proper amount of gluten has been formed.
Knead the dough gently by hand to form a nice tight ball. Place the dough ball in a covered bowl to proof. During the winter and cooler temperature days I let this recipe proof overnight. During the summer months the dough is typically ready for the next step after 6 to 8 hours.
Once the dough has at least doubled in volume remove it to a floured surface and pat it down into a disk. Try not to go overboard with the flour or the dough won’t seal well. Let the dough rest for 5 minutes.
Place your loaf pan on the stove burner and melt 1 tablespoon of butter directly in the pan. Once the butter has melted remove the pan from the heat and roll the pan to coat the entire inner surface. Set the pan aside.
Here is my favorite cast iron loaf pan:

Form a loaf with your dough by folding the top to the center and pressing it to seal the dough along the seam. Then fold the bottom up to the center and press it to seal again. Pull the side-ends of the dough up and over and seal them along the seam. (I’m hoping to get a little video clip of this step to include soon.)
Rest the dough seam side down for a minute. Then turn the dough over and gather the remaining flour from the work surface on the top side of the dough. Place the dough into the buttered loaf pan top side down and then flip it over. This should leave you with a nice buttery top.
Cover the pan and let the dough have a nice long second ferment until it’s at least doubled in size.
Preheat your oven to 400°F. Once preheated, bake the loaf for 30 minutes. When the bread is done remove it from the oven and set out a cooling rack. Remove the bread from the loaf pan and let it cool completely on the rack before slicing.

Butter Top Sourdough Sandwich Bread
A traditionally fermented sourdough loaf perfect for sandwiches, toast, French toast, and more!
Ingredients
- 400 grams (3 1/4 cups) organic bread flour
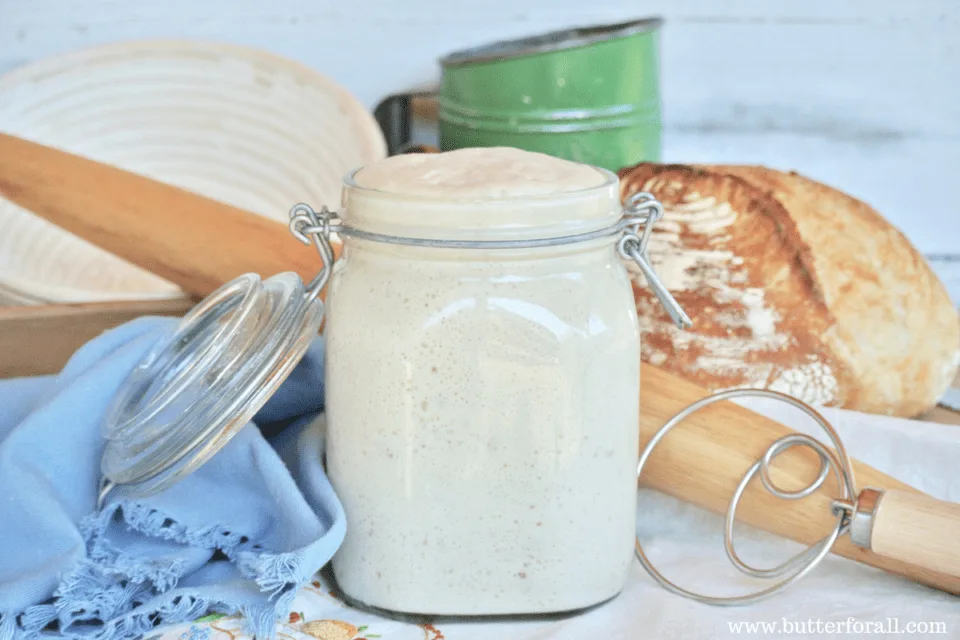
- 250 grams (1 cup) active sourdough starter
- 30 grams (3 tablespoons) coconut sugar, optional
- 12 grams (1 3/4 teaspoon) sea salt
- 230 grams (1 cup) filtered water
For the Pan
Instructions
- Gently mix all the ingredients by hand or by machine until a smooth dough forms. The dough should be soft and tacky but not sticky. You may need to add a bit of water or flour at this point one pinch at a time. Rest the dough for 5 minutes. Continue to knead the dough until it's elastic and passes the windowpane test.
- The windowpane test is taking a bit of dough and flattening it between your fingers. Pull and stretch the dough until you can see light coming through the dough. If you can do this without the dough ripping then the proper amount of gluten has been formed.
- Knead the dough gently by hand to form a nice tight ball. Place the dough ball in a covered bowl to proof. During the winter and cooler temperature days I let this recipe proof overnight. Durning the summer months the dough is typically ready for the next step after 6 to 8 hours.
- Once the dough has at least doubled in volume remove it to a floured surface and pat it down into a disk. Try not to go overboard with the flour or the dough won't seal well. Let the dough rest for 5 minutes.
- Place your loaf pan on the stove burner and melt 1 tablespoon of butter directly in the pan. Once the butter has melted remove the pan from the heat and roll the pan to coat the entire inner surface. Set the pan aside.
- Form a loaf with your dough by folding the top to the center and pressing it to seal the dough along the seam. Then fold the bottom up to the center and press it to seal again. Pull the side-ends of the dough up and over and seal them along the seam. (I'm hoping to get a little video clip of this step to include soon.)
- Rest the dough seam side down for a minute. Then turn the dough over and gather the remaining flour from the work surface on the top side of the dough. Place the dough into the buttered loaf pan top side down and then flip it over. This should leave you with a nice buttery top.
- Cover the pan and let the dough have a nice long second ferment until it's at least doubled in size.
- Preheat your oven to 400°F. Once preheated, bake the loaf for 30 minutes. When the bread is done remove it from the oven and set out a cooling rack. Remove the bread from the loaf pan and let it cool completely on the rack before slicing.
Want To Learn Everything About Sourdough?
Start with this free guide:

Tom F
Tuesday 26th of December 2023
This is a great sandwich loaf. I've made a double batch every three weeks for the last year and a half, probably 20-25 times. It took a few tries to figure out how it works with my starter and the flour I use, but now it comes out consistently prefect.
Butter For All
Wednesday 24th of January 2024
Tom!
You are amazing. Thanks for the stellar feedback!
Susan
Tuesday 29th of August 2023
I cannot begin to thank you enough for this recipe. This ends my quest of the last three years to find the perfect sourdough sandwich bread! Made this today and it is perfect. Absolutely perfect! I have shared my results on my FB page along with a link to your recipe. Again - thank you so very much!
Butter For All
Thursday 12th of October 2023
Hi Susan!
That's wonderful! I'm so happy to know it's working so well for you!
Cara
Tuesday 1st of February 2022
My goodness this bread is amazing! Thank you. My question is how do you store it?
Butter For All
Thursday 3rd of February 2022
Hi Cara!
Thank you! I'm so happy you are enjoying the recipe!
I've tried many different ways of storing bread. And although I don't advocate for use of plastic in the kitchen, a new, gallon sized ziplock bag is my favorite for keeping bread fresh the longest. Then that bag get reused several times for produce or freezing meat etc. But I never use a previously used bag for storing bread. If there is any moisture or possible mold spores in a bag it will spoil your bread. My second favorite way to store bread is in a cast iron dutch oven with tight fitting lid. This is useful when you make round loaves. I leave the baking parchment on the bottom. Just be sure the bread has cooled completely and that the pot doesn't get warm with the bread inside. Third, I do like the large sized beeswrap for wrapping bread that will be eaten quickly. But note that the bread can dry out if left too long in beeswrap.
Hope that's helpful!
Courtney
Susanna
Sunday 6th of September 2020
Would love to have this recipe (and more) also as a gluten free version, too. Been trying to get gluten free sourdough breads to work. It's a different ball game...
Butter For All
Monday 7th of September 2020
Hi Susanna,
I hope you enjoy the recipe! As for gluten free, that is not my area of expertise. But I know a blogger who does a great job, try Megan Stevens from Eat Beautiful!
Good luck,
Courtney
Logan Thompson
Saturday 1st of August 2020
This is the BEST sliced sourdough bread loaf recipe I have found. Thank you, thank you, thank you!
Butter For All
Monday 3rd of August 2020
Hi Logan!
I'm so happy to hear that! It's one of my favorites too! You are more than welcome.Thanks for the feedback :)
-Courtney